

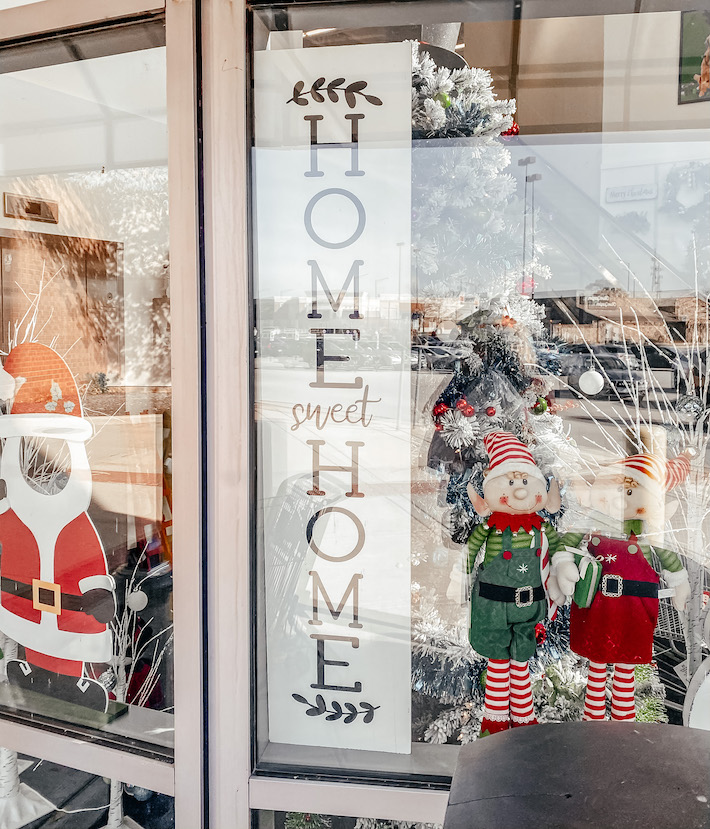
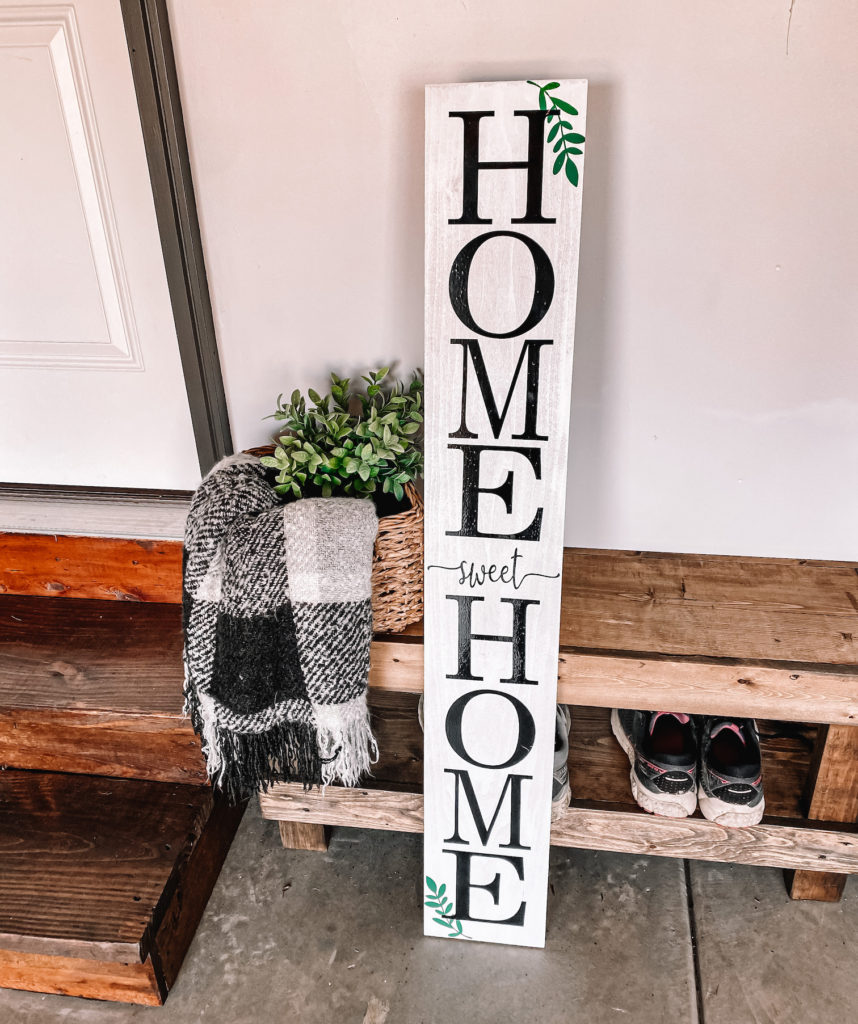
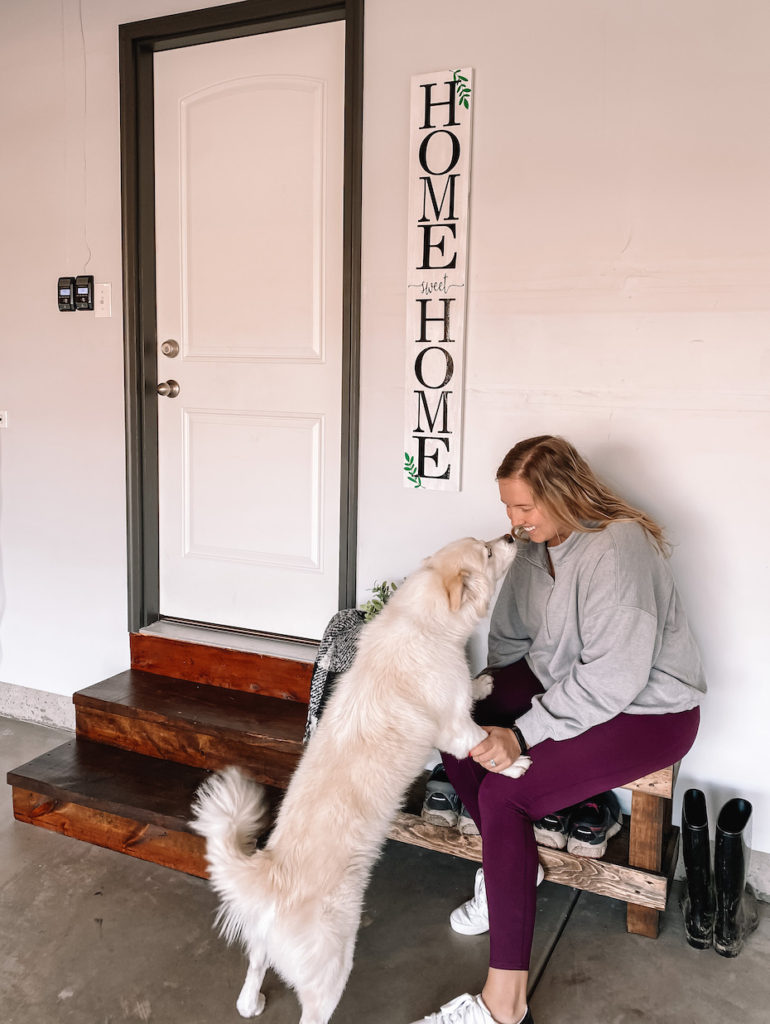
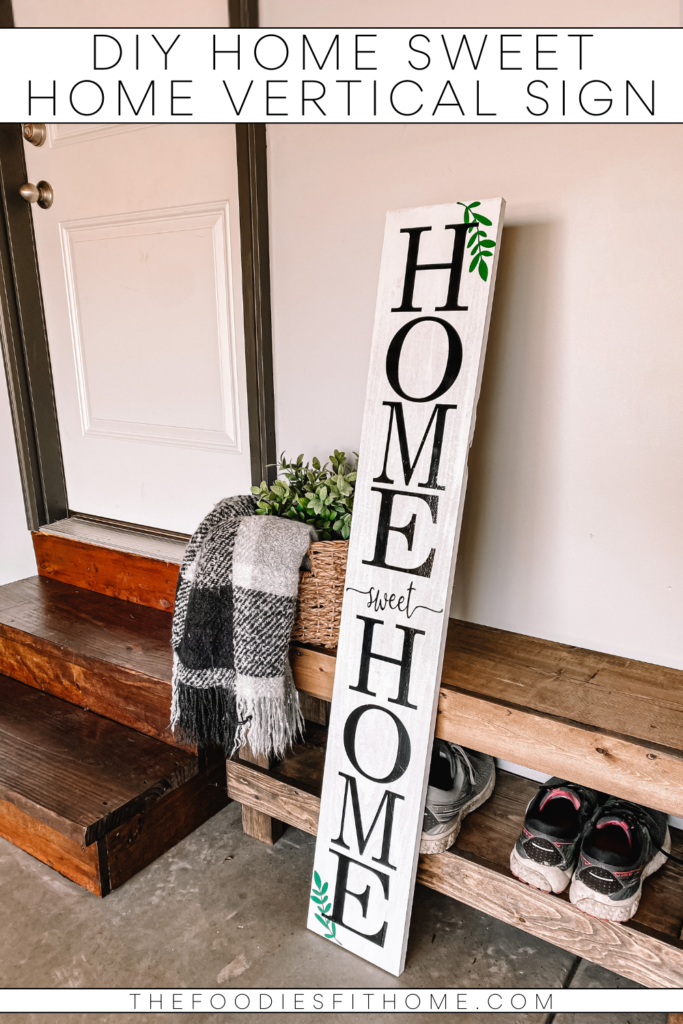
Earlier this month I shared my garage entryway upgrade, the centerpiece of which is my DIY Home Sweet Home sign. I made this sign custom, exactly how I wanted it, for under $15. Today, we’re going to dive into how you can make one of your own.
Project Inspiration
I love Hobby Lobby as much as the next girl, but I just couldn’t justify pulling the trigger on this sign. It was $60 full-price, can you believe that? No way could I justify that, even at $36 after my 40% coupon (when they used to have those #throwback).
Thankfully, I was with a fellow crafty friend who immediately suggested I make one instead. She even suggested Home Depot for the wood, saying she’s done the same thing before with scrap wood they sell there. So, it was time to get to work.
DIY Home Sweet Home Sign Supplies
All in, I spent under $15 on supplies since I had most of this already home. Not too bad!
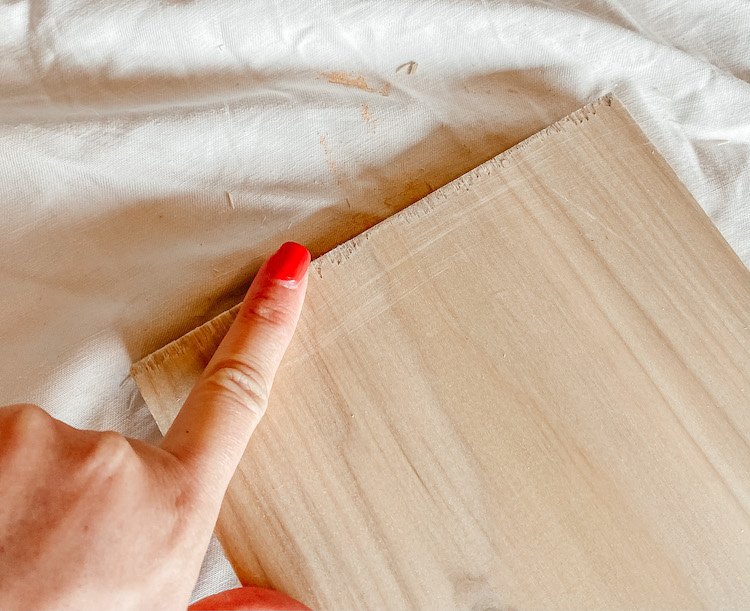
- Wood board (found mine in a scrap area at Home Depot for $8)
- Cricut vinyl (I bought black and green to make the leaves a different color)
- White spray paint
- Clear sealant
- Picture hanging kit
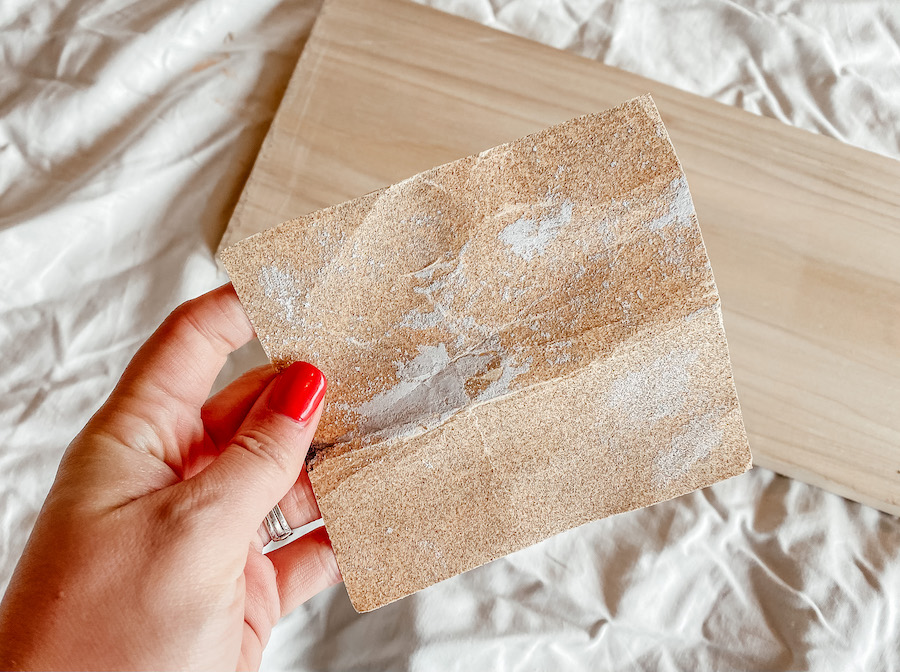
- Sand paper (optional)
Home Sweet Home Sign Cricut Template
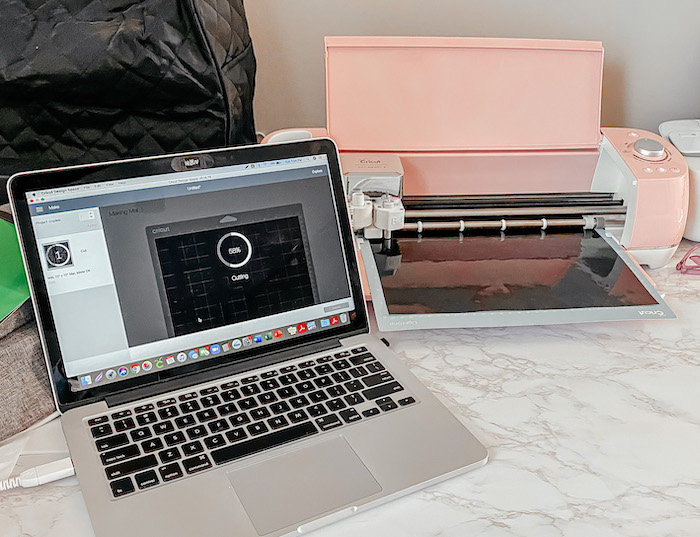
My Cricut has truly changed how I craft. I was nervous I wouldn’t use it enough to justify the purchase but those nerves were quickly put to rest. It’s certainly made making things with lettering much easier, ensuring a perfect cut versus me accidentally painting outside the lines.
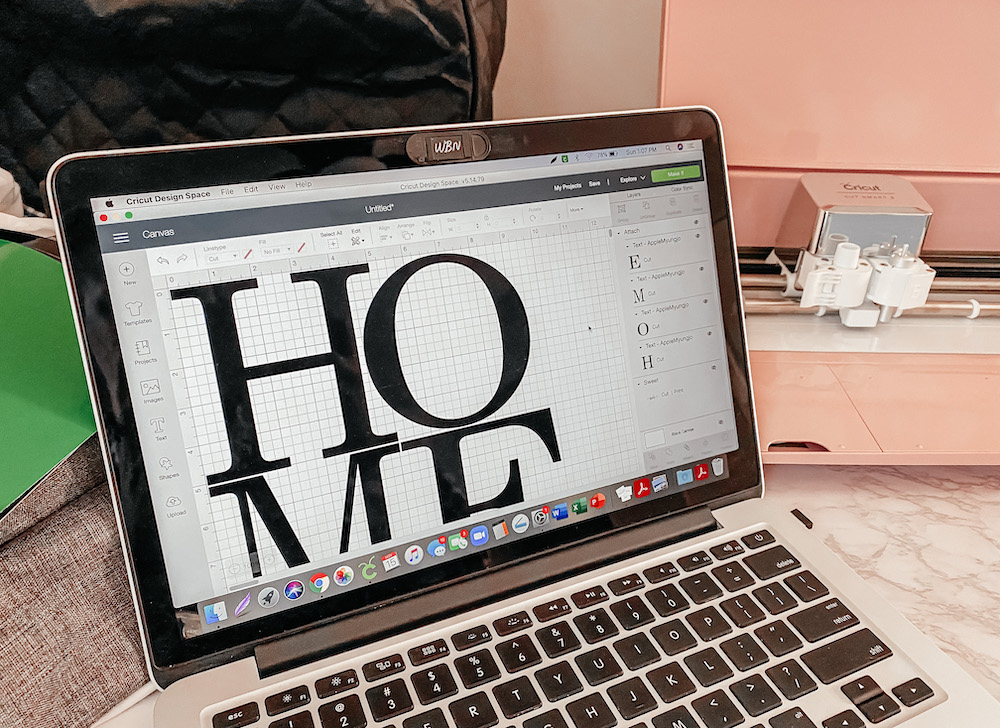
For my sign, I took measurements and made custom letters. However, if you’re looking for a simple template to plug and play, I have your back right here.
Easily save and upload the below graphics to your Cricut to use the same letters and shapes on your own DIY Home Sweet Home sign. Simply right-click the graphics from your laptop, hit save, and upload to Cricut Design Space.


Measuring Your Home Sweet Home Letters
When you import the ‘HOME’ letters the full graphic will measure about 11×11 to fit on a standard 12×12 piece of vinyl. Your sign may be narrower or wider than mine, and you may want your letters to follow suit. Feel free to adjust the graphic templates to your needs!
No matter what, be sure you’ve measured the height and width of your board and are accounting for that with each letter/graphic.
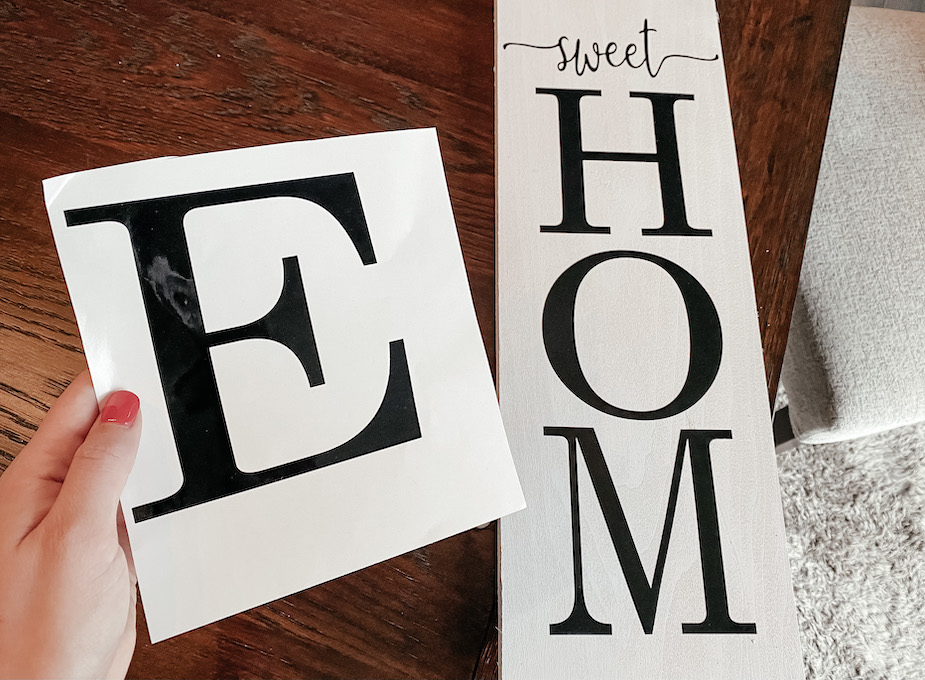
Pro Tip: Don’t close out this project until you’ve fully affixed your letters onto the board. I messed up on my very first ‘H’ and had to cut a new one. If you save the project on Design Space or leave it open, it will make re-cutting another letter the right size super easy.
Preparing and Painting Your Board
The most ideal scenario is to buy a smooth, paint-ready board. However, no matter what, it’s still likely to have a few bumps or unfinished spots. Take a small piece of sand paper and smooth everything out before painting. This way, once your sign is fully done you won’t have any rough surfaces or pieces sticking out to give you slivers when handling.
To prepare for spray paint, lay out a large tarp in a well-ventilated area. Spray paint all sides of your board evenly (except the one laying against the tarp). Be careful not to over-spray any areas or the paint will begin to pool. If that happens, carefully tilt the board so the pooled paint can run off/smoothen enough so it’s not visible. A tiny excess of paint won’t compromise your final piece and if you touch it with a towel or finger the whole area may have a permanent print. In a scenario of excess spray paint, you’re always better off letting it drip off the side if you can.
Allow 24 hours for each coat to dry. Then, flip over and paint all exposed sides, including the thin sides that already got sprayed. Once all sides are dry, inspect and spot touch any areas in need. Allow 24 hours to dry each time you apply a coat.
Applying Home Sweet Home Sign Letters
Once your board is fully painted and dry, you’re ready to attach your letters.
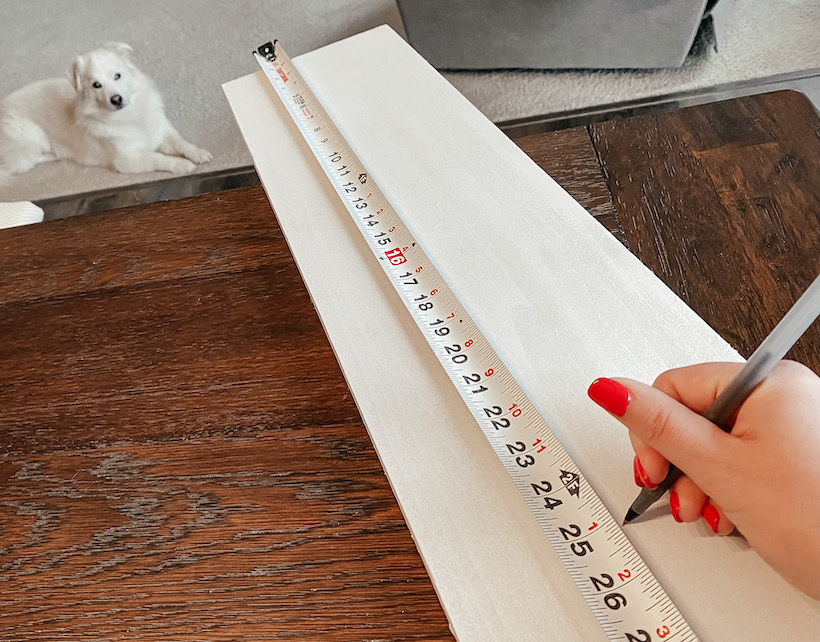
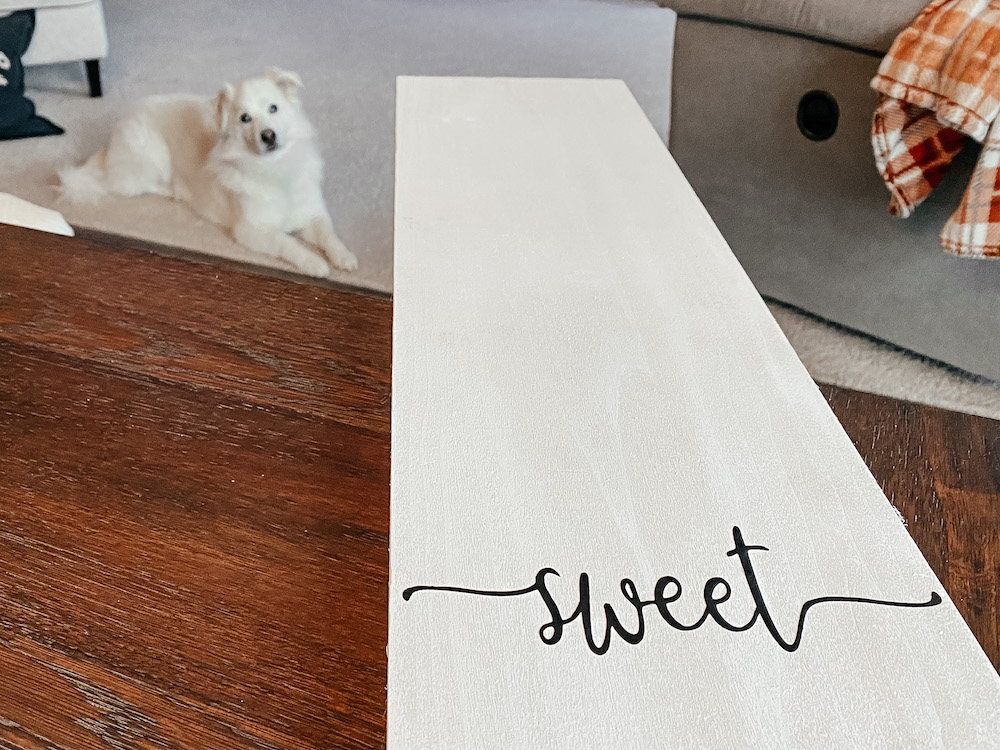
Start by marking the very middle and attaching the “SWEET” decal first. Since the letters are exactly even before and after this decal, this was an easy way to mark the middle of the sign.
From here, I marked where the ‘HOME’ would go on either side of the ‘SWEET’. You’ve already somewhat measured in order to cut your letters the right size, so now it’s time to mark where they go on the board.
Every board length is going to be different, but my suggestion is to leave at least 1-2″ from the top and bottom if you can, because you can add the lamb’s ear leaves to the corners easier.
Don’t panic if you mess up any letters, because you still have them saved on Design Space. Simply cut a new one and try again! Once all letters and decals are on, lay flat and spray with the clear finishing spray. Allow the full 24 hours for this clear finish to dry.
The finishing touch is adding the hangers to the back of the sign. Do so gently and with very shallow screws (like in this picture hanging kit) so as to not split the board. Chances are your sign will be light enough to hang on a nail, but feel free to install via screw and anchor if you’re on the fence.
What did you think of this project? Will you give it a shot? I’d love to hear from anyone who’s taken a stab at this one or something similar. All tips and tricks welcome as always!
More Home Improvement and DIY
- My Garage Entryway Upgrade
- DIY White Dresser Modern Makeover
- Installing a Backyard Fire Pit
- Hanging Our Farmhouse Kitchen Shelves
This post contains referral/affiliate links. A small commission may be earned if products are purchased through my links. Thank you for supporting the brands that support this blog.

This post contains referral/affiliate links. A small commission may be earned if products are purchased through my links. Thank you for supporting the brands that support this blog.


