
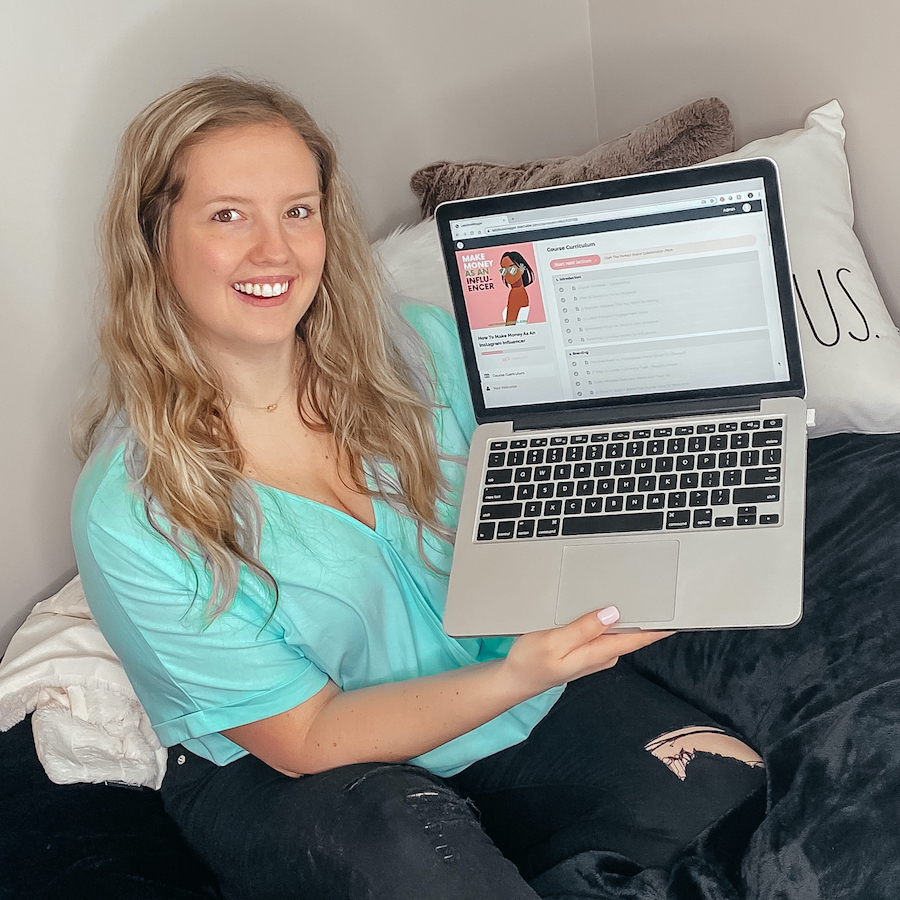
You take gorgeous photos, don’t undersell them. See how I’m photo editing in Lightroom to further enhance my blog and social media photos.
Everything looks better before you snap the shot and review it on your phone. That’s not your fault, it’s because we’re typically capturing our visions and memories with a phone’s camera. While getting increasingly better, camera phones are just not the best technology out there, period. And if you’re like most, you’re not dropping thousands of dollars on a professional camera. As such, Lightroom is a pretty solid alternative.
Adobe Lightroom’s greatest power is in the name: light. This app helps you bring out the radiance you see with your own eyes. It simply brings your photos to life! And it doesn’t even take an expert level of editing to do so. You don’t need to be a blogger or photographer to use this free app, either. Anyone looking for improved photos, for digital or print, should check Lightroom out.
What is Lightroom best for?
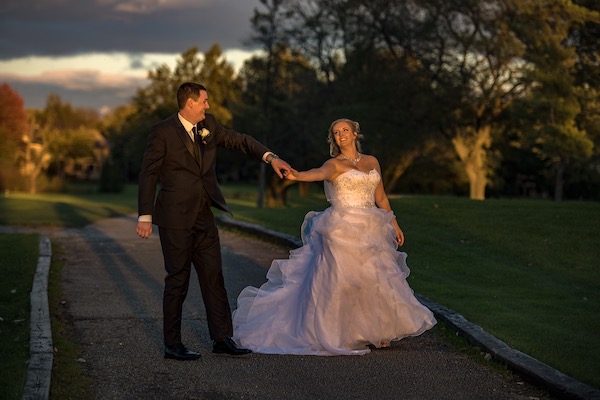
- Enhancing big event photos (weddings, newborn or milestone shots, etc.)
- Capturing dimly lit events
- Bringing more color or vibrance to your photos
- Reducing heavy glares from exterior windows
- Creating your own Presets (keep reading for more on Presets!)
You want the best and brightest photos, but you also don’t want to spend hours editing everything you share, especially if it’s not for a business. I think about what I need to edit based on how big an event it was, or if it was a milestone I plan to look back on, or especially whether or not I plan to print this photo in the future (not one of the wedding photos I printed didn’t run through my Lightroom app first, even if just for a little extra lighting). Basically, if you’re looking to share a picture of your dinner just because, you can probably save the extra time and do without Lightroom here.
What is a Lightroom Preset?
A Lightroom Preset is essentially a really fantastic photo filter. It’s so great because it’s a filter you can customize from scratch using specific photo editing qualities (exposure, vibrance, clarity and more). You’re not restricted to the provided filters that Instagram or Facebook have, you’re in control of exactly how much sepia or shadow goes into your Preset.
I suggest playing around with different controls on the app until you see the aesthetic you’re aiming for. Personally, my overall vibe is colorful but natural. I want all the brightest colors showing, but I don’t want the picture to actually look super retouched.
My Personal Preset Filters
I have a few filters that get the job done for me, all of which I’ve named based on the intended outcome. Below is the same photo with all 3 of my go-to filters to give you an idea of what each does:
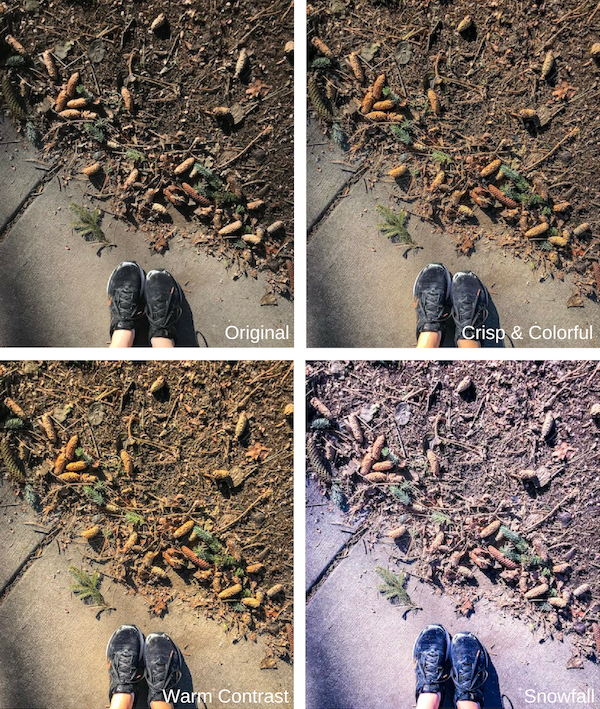
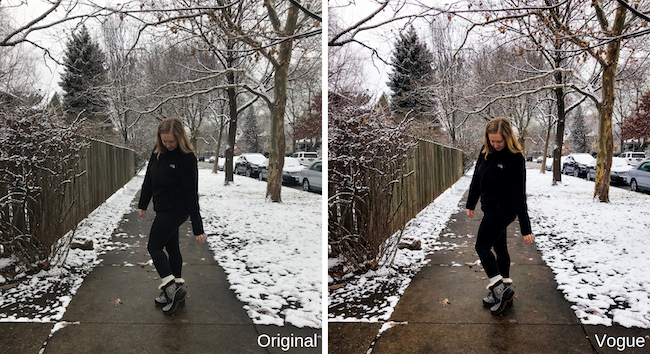
I most commonly use the Crisp & Colorful Preset, then Warm Contrast and on a rare occasion, Snowfall. While it is the most obviously photo shopped Preset, it comes in handy for enhancing nighttime photos to brighten the shot. It’s also great for giving a snowy look – like in this photo I took of Michigan Avenue at Christmas time – hence the name Snowfall. I’m currently tweaking a Preset called ‘Vogue’ that adds some contrast and shadowing to sharper, less colorful photos. Example below of the work in progress:
What are the best editing effects?
Lightroom has a bunch of sliders for you to adjust a la carte, no saving as a Preset required. These are some of my favorite editing features that you won’t find preloaded on your phone:
Dehaze – in Effects
This setting is great for getting rid of glares. Do you see a ‘ghost’ hanging out in your picture? Minimize it with this. Sometimes it makes the rest of the photo look a little darker, but you can re-brighten it sans ghastly figures with the Exposure tool in the Light tab.
Vibrance – in Color
This is like a toned down version of Saturation, which you can find on your iPhone or in Instagram. Vibrance really plays up the brightness and purity of the colors without adding too much pigmentation, taking your photos out of that natural looking zone.
Auto – in Main Menu
Honestly, sometimes all you need is for technology to do its thing. While smart phones mostly all have an auto option, I find that those are nothing compared to the Lightroom Auto option. The iPhone auto commonly adds weird yellow to my colorful shots whereas Lightroom has many more specific qualities it can adjust, including a White Balance, so it does a better job of capturing a more natural look. Sometimes I’ll hit just Auto, make a few adjustments myself from there and that’s all the photo needed.
Share your Lightroom Edits
Tag me in your beautiful photos on social media for a chance to be featured on my feed! I’d love to see what beautiful editing you’ve been up to, and be sure to subscribe to the blog before you go for more tips and content.


This post contains referral/affiliate links. A small commission may be earned if products are purchased through my links. Thank you for supporting the brands that support this blog.

