
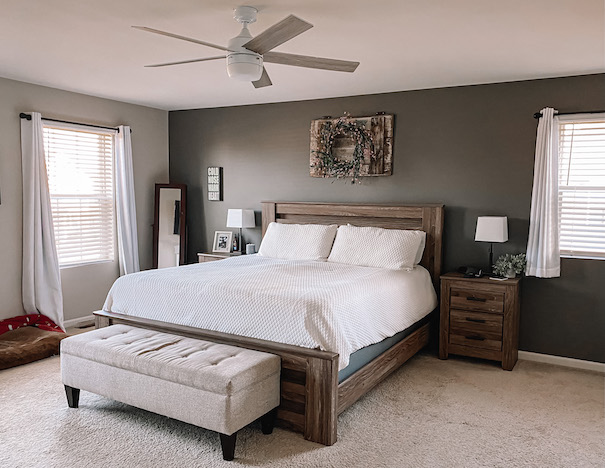
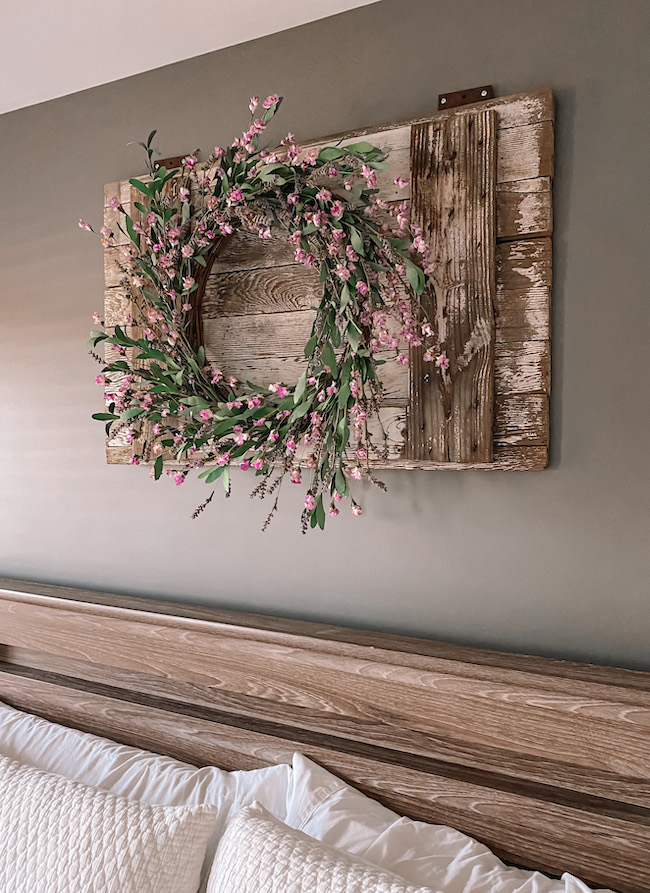
We have a wonderful local shop near us called Hammar’s This and That; it’s part of a farm and open a few days a week. On one of my many trips shortly after moving here, I found this barn door and immediately knew I wanted to hang it in our room. I pictured a wreath hanging on it for a pop of color in an otherwise rather neutral space. My DIY repurposed barn door and wreath wall decor has been up for over two years now, so I’m here to share the tutorial.
Finding a Repurposed Barn Door
I touched on this above, but unfortunately there’s no secret formula for finding your barn door. My suggestion is to check local farms, farmers markets, craft fairs and trade shows because that tends to be where you find these unique pieces.

Basically, always have your eyes peeled for the possibility of something like this popping up when you’re out. Surely, should it come to it, you can find a small reclaimed barn door on Etsy.
Preparing the Barn Door for Wall Mounting
Before we could get this piece on the wall it needed a few touch ups. For starters, the back side has a latch on it because it was a functional door at some point, so it needed to be fastened down to avoid scraping my wall and moving around.
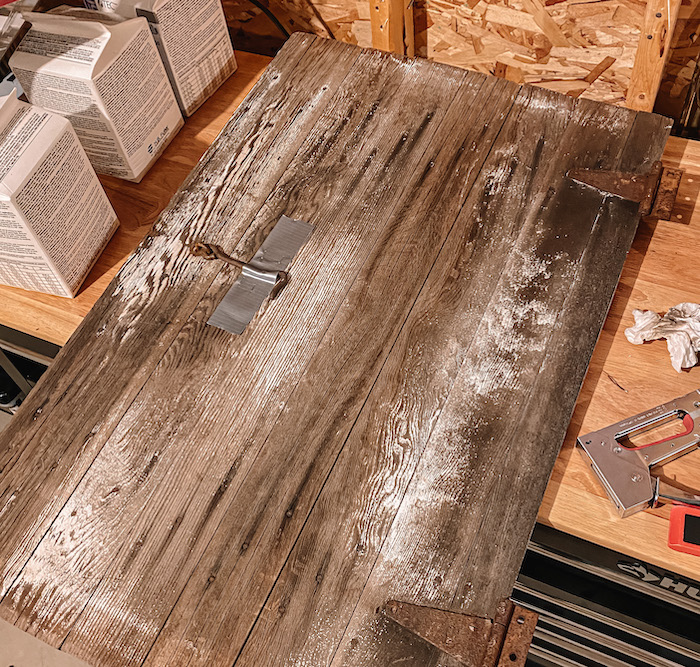
This was a simple fix, since we’ll never see that side we simply duct taped it down. This also provides a softer buffer so it won’t scratch my wall in the event that pieces moves for any reason.
How to Hang an Old Barn Door
In our case, we were lucky that the repurposed barn door still had the old door hardware on it. We used this already-in-place bracket to hang the barn door. Not every barn door will come with this convenience so you may need to buy a mounting kit. You can buy a door hinge kit for this look or go with a more traditional D ring mounting kit. Either will work, it’s really a matter of preference!

However, it wasn’t that simple. The holes on this are pretty small compared to screw heads, so it wasn’t as easy as installing screws and hanging the door on it.
Placing and Marking Your Repurposed Barn Door
First, we placed the barn door where we ultimately wanted it, leveling it to make sure it was straight. Then, we marked where the screws would go so Kevin could drill pilot holes. We ended up hitting a stud on one of the four spots we planned to install screws, so we drilled three pilot holes for the others and placed anchors in them.
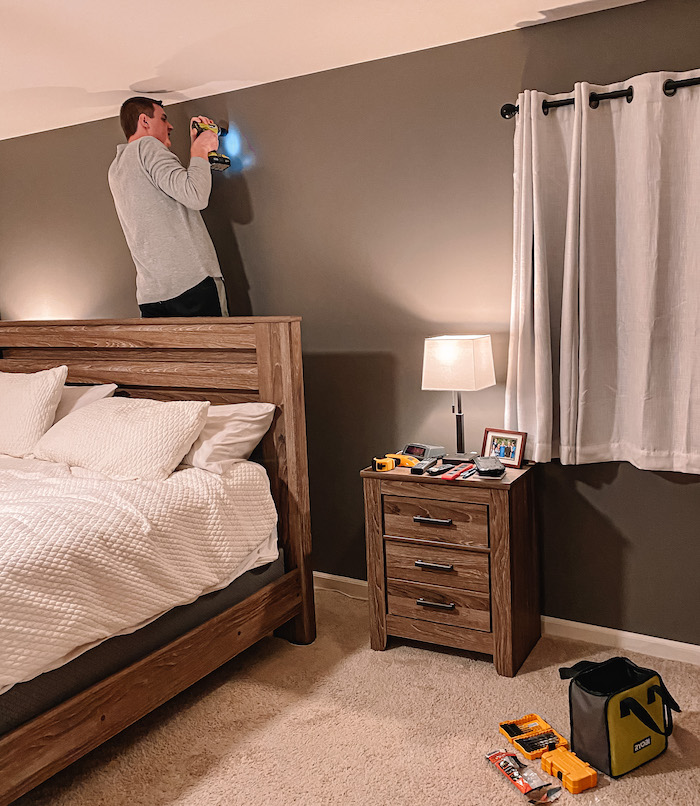
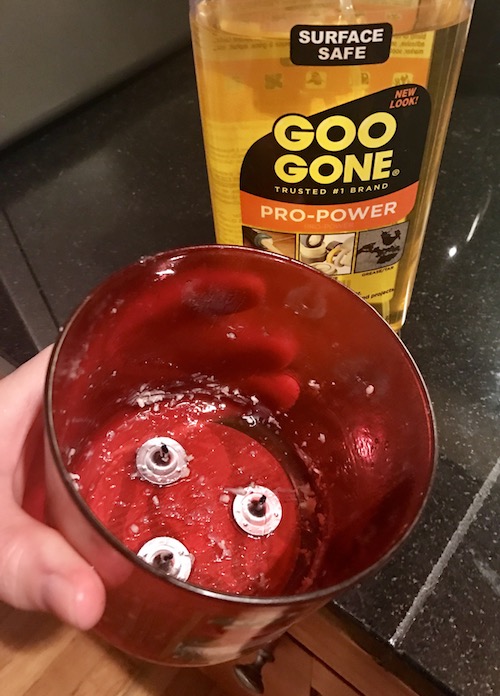
Due to the weight of the barn door (we estimate over 50 pounds), we used these toggle anchors. They’re anchors with longer ‘arms’ that open up once they’re screwed into, to better reinforce onto the wall for heavier objects. The weight limit on each anchor is over 100 pounds, so it’s much more than we need since we’re using three, but we always overshoot the weight limits on these to be safe. This piece hangs over our bed so it’s very important that it’s extra well reinforced!
Hanging the Barn Door
Back to why this repurposed barn door wasn’t straight forward to hang. The smaller holes in the door bracket were too small for any screw head to fit through. As such, we had to drill the screws in through the holes versus drilling and placing the barn door on it afterwards.
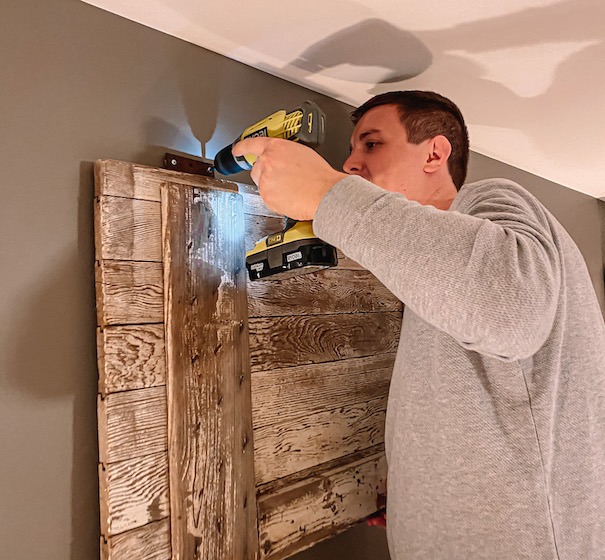
Not pictured is me two minutes earlier underneath the door, holding it while Kev drilled in the first two screws.
Hanging the Wreath
I had a specific vision during this step. During the holidays, I want to swap out my wreath for something seasonal. If you look below you can see the screw we drilled into the door to securely to hang a wreath. It’s a sturdy but non-permanent solution so you can swap your wreaths out at-will!

I’m so glad we didn’t permanently attach it because if we redecorate and decide we want a different wreath we have the option to change it out.
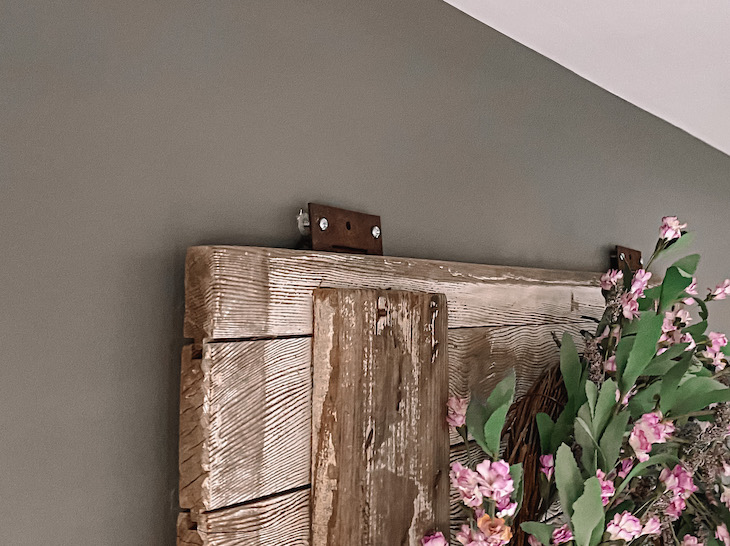
As you can see, the screws aren’t all the way in the wall. The latch on the back prevents the barn door from sitting flush against the wall. Because of that, we left the screws out about 1/4″ to keep the piece hanging straight.
I forget the exact length of the screw, but they were LONG, so 1/4″ was hardly anything for that screw, so letting it hang off a little was no big deal.
The Final Product
It came out even better than I’d hoped! We centered it over our bed and it’s more than enough decoration in that space. I love how we didn’t need to hang multiple frames or pieces of art to complete the space.

I’ve shifted to fewer larger pieces of decor versus several smaller pieces. I find it helps your space from feeling cluttered. Less is more in this case. It’s worth the investment to get one larger long-term piece than a few dollar store items you don’t entirely love.
How do you like my repurposed barn door decor? Is this a project you’d try for yourself? It wasn’t that hard of a DIY, to be honest. The trickiest part was holding the door up to measure and drilling through it instead of hanging it afterwards, but even that wasn’t terrible. I’d love to hear your thoughts!
More DIY and Home Decor
- Modern White Dresser Makeover
- DIY Home Sweet Home Vertical Sign
- Laundry Room Makeover Inspiration
- Our ‘Before’ Loft Decor
This post contains referral/affiliate links. A small commission may be earned if products are purchased through my links. Thank you for supporting the brands that support this blog.

This post contains referral/affiliate links. A small commission may be earned if products are purchased through my links. Thank you for supporting the brands that support this blog.


