
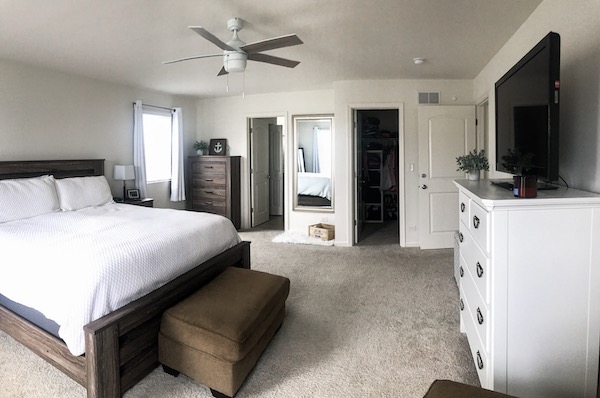
The most dramatic transformation since moving has hands-down been the master bedroom. Our condo’s master was 10′ x 12′ and barely fit the king-sized bed we insisted on having; now we’re looking for more furniture to adequately fill the space. We’re certainly not complaining! But it needs to be the right furniture – right size, right color, etc. Enter my DIY white dresser makeover.
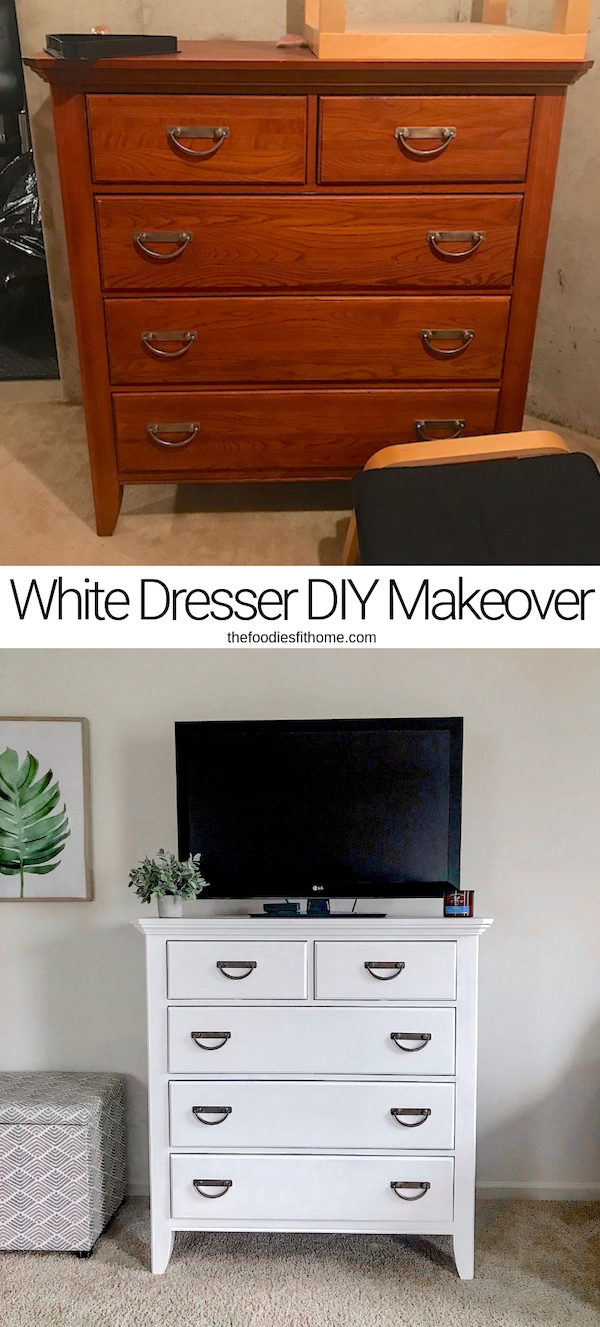
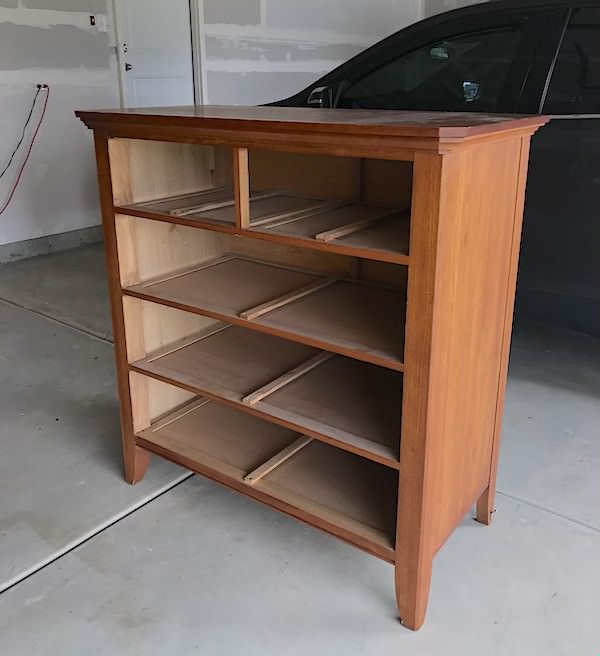
Our Dresser Before Painting
This piece was an-already-handed-down hand-me-down. Meaning it cost exactly $0 – my ideal DIY project price tag. I’d been searching for a tall-yet-wide dresser, so our TV doesn’t look like it’s falling off either side, and apparently that’s a tall order. #punintended
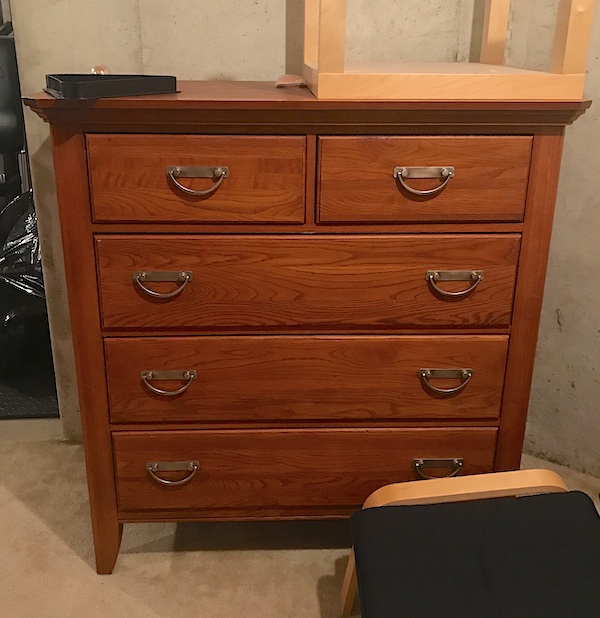
We had the hardest time finding anything remotely similar to this piece in stores or online. Every time we went into a local shop I’d be creeping to see if any of the dresser/display pieces were for sale. The struggle was real. Turns out our piece was sitting in Kevin’s parent’s basement all along and all-in we spent less than $50 by going the DIY white dresser route.
Prepping for your DIY White Dresser Project
First, figure out what color you want your piece to be. Gather paint chips to bring home and see on the piece and in the space. We knew it’d be white with a very slight sheen so we just grabbed a can right off the shelf. Never been a big fan of flat matte paint on wood but you also don’t want an overly shiny piece, especially one this large.
Next, take inventory of your supplies and make sure you have all of the below:
- Paint (I recommend an eggshell finish or the sheen just above matte – not flat but not overly shiny)
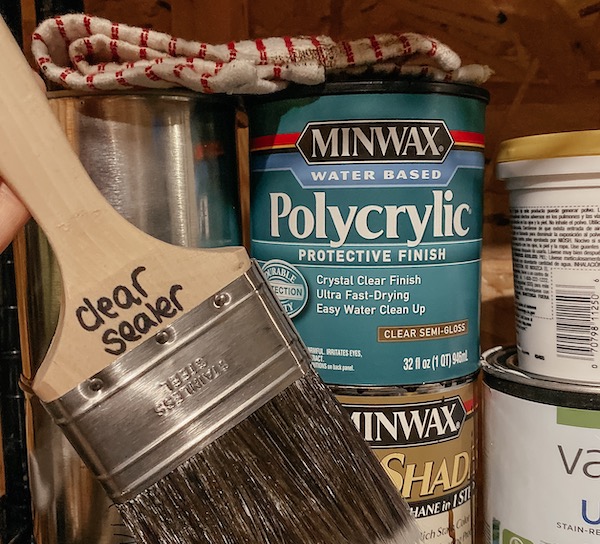
- Clear, Polycrylic water-based sealer (pictured later for reference)
- Paint brush (I recommend a soft bristle, about 2″ to 2.5″ for larger pieces, but go smaller if you’re less comfortable or newer) – this multi pack is SUPER cheap with 6,000+ good reviews!
- Second paint brush (which you’ll already have if you get the multi pack) for the sealer – you cannot interchange paint and sealer brushes
- Tarps for your workspace (TIP: always have a durable tarp available for projects)
- Miscellaneous tools:
- Paint can opener (I recommend having a few, they tend to walk away!)
- Paint stirrer/stick (may even get one free with your paint)
- Screw drivers or drill to remove hardware, etc.
Pre-work
There’s a few things you need to consider and act on before getting down to business.
Remove the hardware from the drawers
Avoid painting the handles or painting them to the piece by taking them off entirely first. The end look will be a thousand times cleaner and you’ll still be able to change the hardware down the line if it’s not all stuck to the drawers.
Do I need to sand the dresser?
This may be controversial, but I elected to not sand my piece before painting. It’s more than doable, and a very viable option if you don’t have access to a sander. Sanding is much more important if you’re re-staining a piece. Painting over it isn’t as taboo.
Clean the entire surface
Anywhere that will be painted must be free of dust and dirt. Older pieces have probably collected a little bit of dust and you don’t want to end up getting on your brush or worse, painting it to your piece (it can easily clump enough to be substantial and harden to the surface from the paint). Wipe down ALL surfaces with a damp rag before and ensure it dries completely before painting.
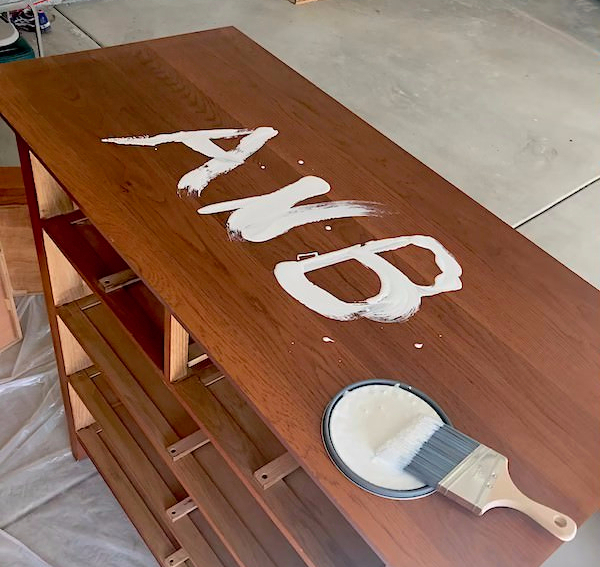
Painting your Dresser
Start by giving the frame its first coat of paint, one side at a time, while following the existing grains for a most natural look. Each coat of paint – and you’ll likely need/want two or three – should be thin. You want the paint to be smooth and thin to avoid the paint drying in clumps. Plus, the thinner the layer the more natural the piece will look.
TIP: Be especially attentive to various level changes (referring especially to the top on my piece, where there’s a lot of detail) as paint can easily gather at intersects and create a clumpy appearance when dry.
Follow the directions on your paint for dry times, but generally speaking, if the coats are nice and thin you can probably apply the next coat safely in one to two hours. Warmer, more humid weather will effect dry times so plan for two to three if it’s very humid and you’re working outside.
Once you feel like you’ve covered the piece entirely allow the final coat to fully dry and spot check both up close and from afar. I like to use smaller craft brushes to cover small spots that need a little extra attention, especially around level changes and crevices to be more precise.
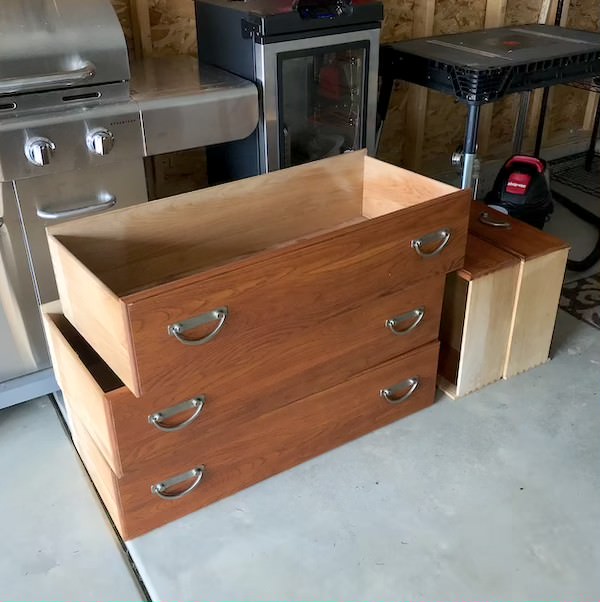
Painting the Drawers
While the frame is drying you can get started on the drawers. I recommend sitting them on the tarp “butts down” as I call it. This means the very back of the drawer is down on the tarp and the handle side is facing up. Remember, you’ll never see the side facing the ground (the very back). Painting almost all the way to the bottom (and skipping the “butts”) will more than suffice. Trust me, a project this big can be physically tolling as-is, no need to go the extra mile on the back of the drawers.
Sealing your Newly Painted Dresser
This particular sealant says to use a paintbrush exclusively for the product and to not cross-contaminate. I bought a second one and marked the handle in sharpie so I don’t keep buying new ones or lose track of which brush is which.
Similar to the paint, you’ll want a couple of very thin layers, maximum of two if necessary. The thinner the better. Allow a few hours to dry between coats.
TIP: Use the lighting to check for missed spots. The sealer will likely be more shiny after application so you can check the piece at various angles to find spots you missed while it dries. Target those areas once the first coat is dry.
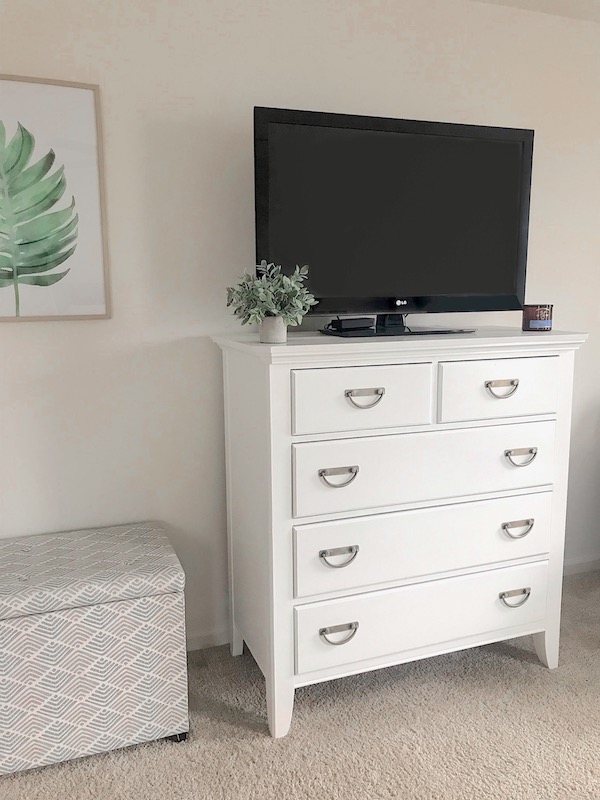
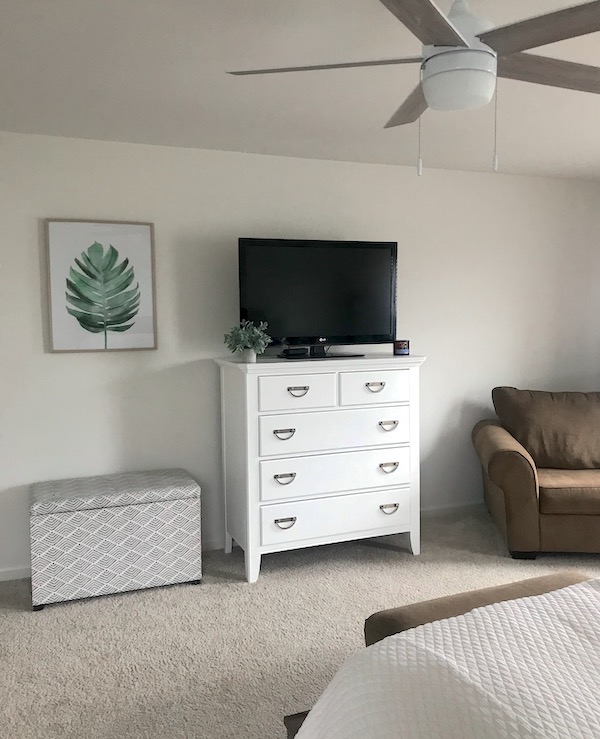
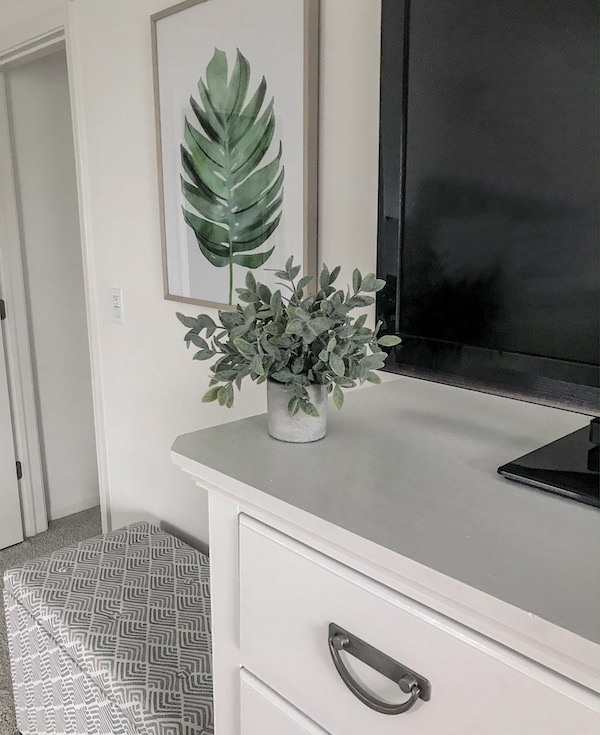
The Final DIY White Dresser Product
The dresser came out incredible! I’ve since added a not-quite-finished light grey, quilted fabric runner. Just haven’t quite actually finished it so it’s folded nicely to fake it til’ I [actually] make it. For now, it’s still adding a softer element to an otherwise colder ‘all-business’ space. The room photos are a little dated here as well but not too much has changed aside from the mirror area and a dozen more pillows. More to come on how this space has evolved as a whole.
Anywho, hopefully now you’re in the spirit to tackle your own DIY dresser/furniture refurbish.
Want more DIY?
If you can paint a dresser you can certainly spray paint your outdated decor or paint and hang some beautiful farmhouse style shelves!

This post contains referral/affiliate links. Thank you for supporting the brands that support this blog.

This post contains referral/affiliate links. A small commission may be earned if products are purchased through my links. Thank you for supporting the brands that support this blog.


