

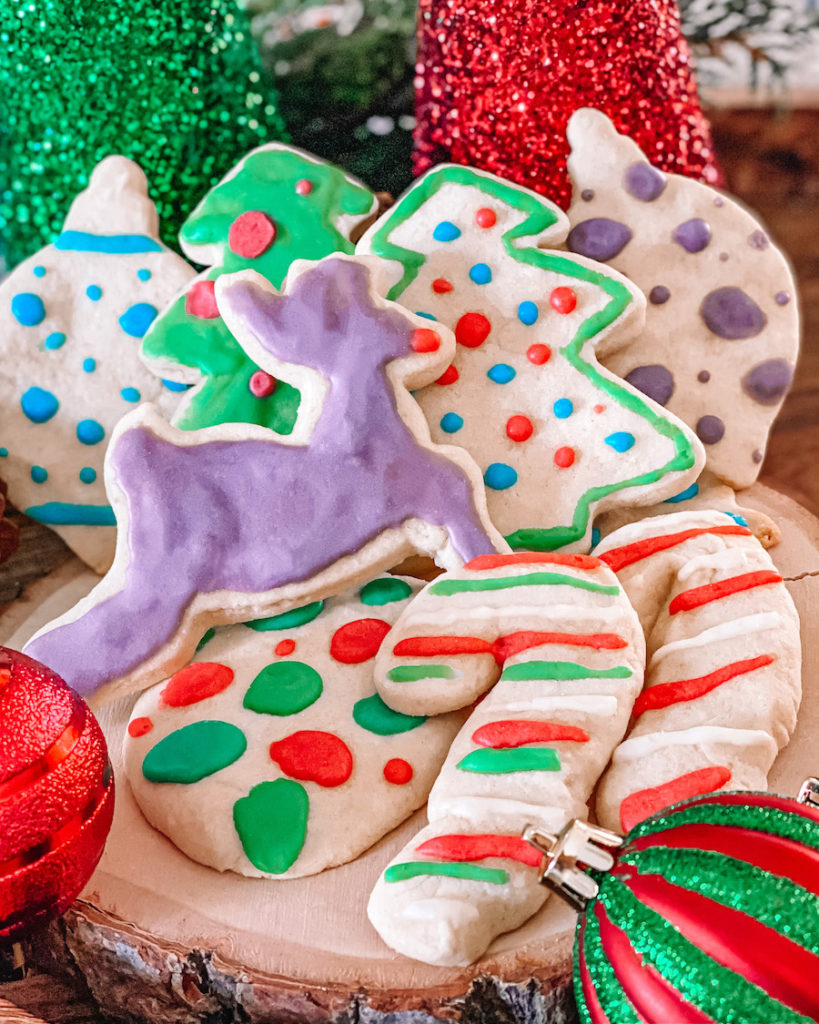
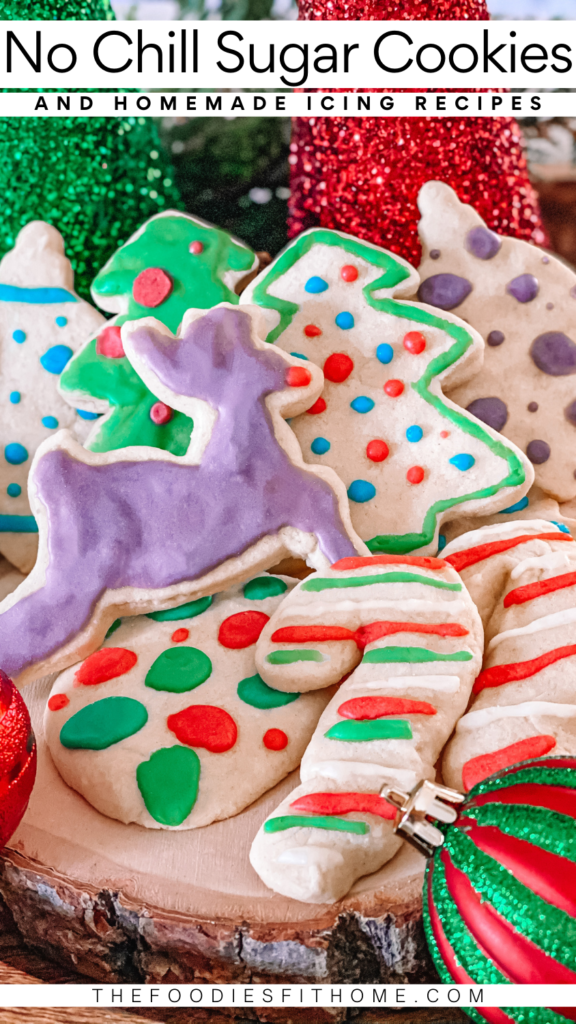
This was my first time making sugar cookies from scratch, so I wanted to make it as easy as possible. After some extensive research, I found no chill sugar cookies to be the easiest (and the butteriest, yum!). This recipe creates a delicious, buttery soft sugar cookie, proving cut out cookies do not have to be hard to turn out right.
No Chill Sugar Cookie Ingredients
This recipe yields about 36 cookies.
- 2½ sticks unsalted butter (1 cup + 4 tbsp), softened to room temperature
- 1 cup sugar
- 3 cups flour
- 1 egg
- 1 additional egg, yolk only
- 2 tsp vanilla/vanilla extract (I used and recommend this one)
- 1½ tsp baking powder
- ½ tsp salt
Primary Baking Supplies Needed
- Cookie cutters (I used shapes from this collection, and this pre-made set is very similar!)
- Baking mats (optional), mine are a festive red and green because I host cookie making most years!
- Baking sheets
- Rolling pin (I love my heavy marble one, it helps roll dough out easier with its own weight)
Optional Icing Ingredients
- 1 cup powdered sugar
- 1½ tbsp milk
- 1 tbsp butter
- ½ tsp vanilla
Preparing for No Chill Sugar Cookies
Two hours before you’re going to start baking, take your butter out of the fridge and let it soften. You want to avoid microwaving your butter to soften, as overheating can affect how the softness of the dough.
Making Your Cookie Dough
1.Pre heat oven to 325 degrees and line baking sheets with baking mats or parchment paper.
2. In a large bowl, beat the butter and sugar with a hand mixer or large spoon, or in your stand mixer. It’s important to use a large enough bowl if you’re not using a stand mixer as all the ingredients will eventually be in this bowl.
3. Once mostly mixed, add the egg, egg yolk and vanilla.
4. In a separate bowl, combine the dry ingredients: the flour, baking powder and salt.
5. Add half of the dry ingredient mixture to the larger bowl mixture and mix on low speed. Once the dry ingredients are mostly absorbed, add the remainder of the flour mixture and mix until just combined. Do not over mix. Scrape the bottom and sides of your bowl often while mixing to ensure no dry ingredients remain.
Cutting and Baking No Chill Sugar Cookies
6. Roll dough out a handful at a time on a moderately floured surface. Have flour handy in case you need more for the surface or rolling pin.
7. Roll dough to 1/4 inch thick. Cut cookies using your desired cutters. Use a spatula to gently lift up cookies and place onto a prepared baking tray. If decorating with sprinkles, add them now prior to baking.
8. Bake cookies for 10-12 minutes. If your oven cooks particularly quickly, check cookies at 8 or 9 minutes to avoid burning. They’re done when the edges are barely golden brown.
9. Once done, let the cookies sit on the tray for at least 5 minutes to avoid breaking/mis-shaping in transit. Then, you can transfer to a cooking rack or paper towel to finish cooling.
10. If you’re not icing, your final step is to enjoy! If you plan to use icing, continue to my homemade sugar cookie icing recipe below.
Homemade Sugar Cookie Icing Recipe
Combine all homemade icing ingredients in a small bowl and whisk together until fully combined.
Ingredients, as a reminder:
- 1 cup powdered sugar
- 1½ tbsp milk
- 1 tbsp butter
- ½ tsp vanilla
If icing is too thick, add more milk a tiny bit at a time until smooth enough to spoon onto the cookies. If icing is too thin, add more powdered sugar a little at a time until thick enough to resist when dripping off spoon.
To make various colors, double recipe and split into multiple bowls. Stir in food coloring a little at a time until desired hue is reached. Then decorate cookies as normal.

How’d they come out? The darker color was purple, and sadly didn’t come out very well, but that surely didn’t effect the taste! Share your experience in the comments to let me know how they came out. Any difficulties? Or advice you’d share going forward? Let me know!
More Desserts and Recipes
- Hot Chocolate Bombs Recipe
- Homemade Cheesy Potatoes Recipe
- 20 Christmas Craft + Recipe Ideas
- Rumchata Cake Pops Recipe
This post contains referral/affiliate links. A small commission may be earned if products are purchased through my links. Thank you for supporting the brands that support this blog.

This post contains referral/affiliate links. A small commission may be earned if products are purchased through my links. Thank you for supporting the brands that support this blog.


