
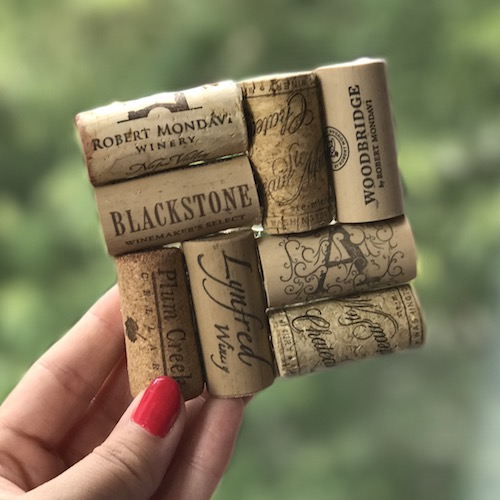
Do you have a stash of old wine corks just lying around? Or maybe they’re serving a decorative purpose in a fun-shaped encasement, but it’s getting full? Guilty, on both accounts. These wine cork coasters are elevating my living space while giving my cork holders a little relief.

Since I was already in the market for new coasters I decided I’d rather pull out the ole’ glue gun and make some than spend the money. I simply glued a handful of corks together in a cute pattern. Half the battle is deciding exactly how you want them to lay.
Wine Cork Coaster Project Supplies
- Hot glue gun
- Hot glue gun glue stick refills
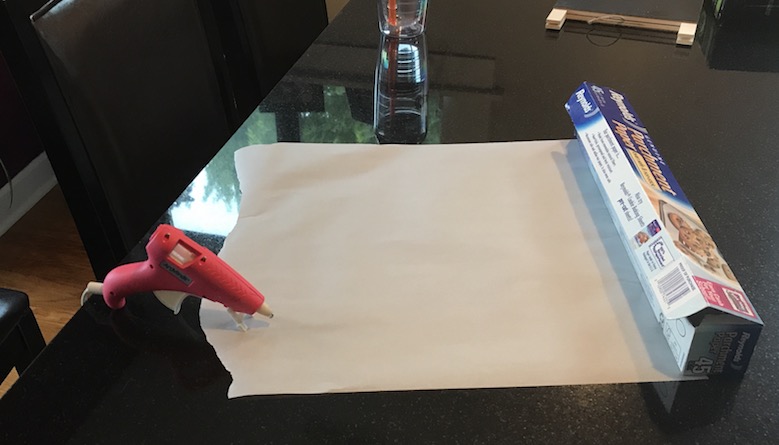
- Parchment paper for your work station (optional)
How To Make Wine Cork Coasters
1. Before firing up your glue gun, set up a little work station to protect your surface. I lay out parchment paper to catch drips while my glue gun warms up.
2. Gather 8 corks of similar size and length per coaster.
3. Lay corks in pairs based on preference (i.e. style, text, bottle type, etc.). Lettering on the paired corks should face the same way, but the four sets of pairs can either face two ways or four different ways depending on your preference (mine face two ways, for example).
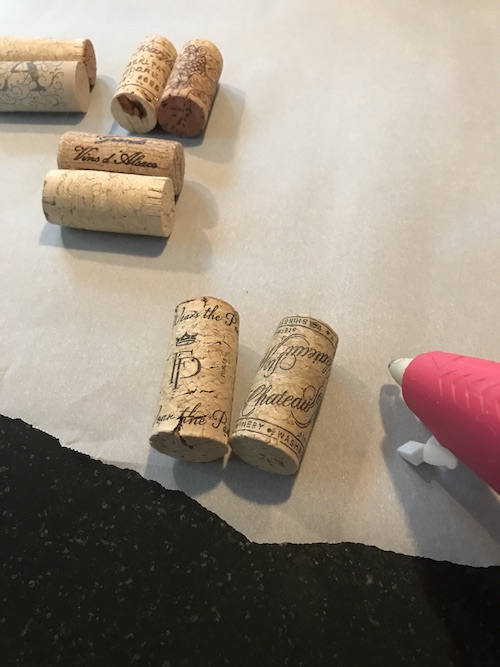
4. Glue the four pairs together first, letting them dry for about 30 minutes.
5. Once dry, arrange them in a square pattern, 2 sets horizontal and 2 sets vertical.
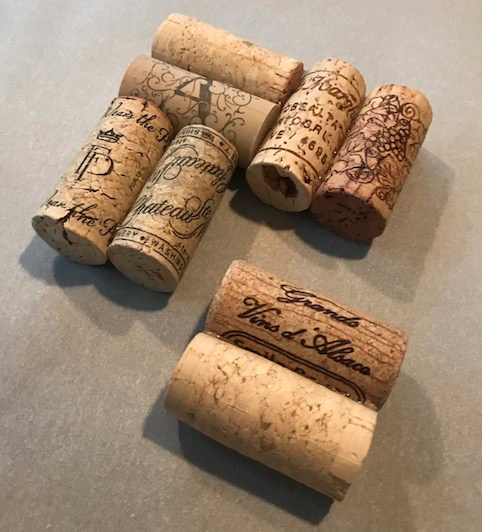
6. Glue the 4 sets together, adding extra glue to the bottom crevices.
Note: Be careful to not get glue on the very bottom of the corks, this impacts how flat the coaster sits. Leveling is very important here since the coasters will be holding glasses of very spill-able liquid.

This indirectly helps keep drink condensation from seeping through the coaster onto the table, too.
7. Let the corks dry for 24 hours before using. The glue will dry much sooner but may still be tacky and applying weight to the glue may cause it to stick to your table if at all still tacky.
Other Thoughts and Suggestions
I’ve explored the idea of adding little pins in them for added support but ultimately decided absolutely not. Do you have pets? Or even teething kids? If they decide they want to have a little cork snack they could get really hurt. And I know my fur baby has a taste for shredding cork because my old cork coasters (purchased) went from a set of six to a set of three, hence, I’m here making new ones. 🙂

My goal was to have a few of these done before we host our Fantasy Football league’s Draft Party, which I did, so my nice wood table doesn’t endure an untimely fate from beer sweat.
Well, there’s not much else to it but to do it! If you have corks and a glue gun you’re already 75% of the way there, so get to crafting. These easy-to-make beauties hold both your wine and fond memories, my favorite kind of decor.
More DIY and Crafts
This post contains referral/affiliate links. A small commission may be earned if products are purchased through my links. Thank you for supporting the brands that support this blog.

This post contains referral/affiliate links. A small commission may be earned if products are purchased through my links. Thank you for supporting the brands that support this blog.
