
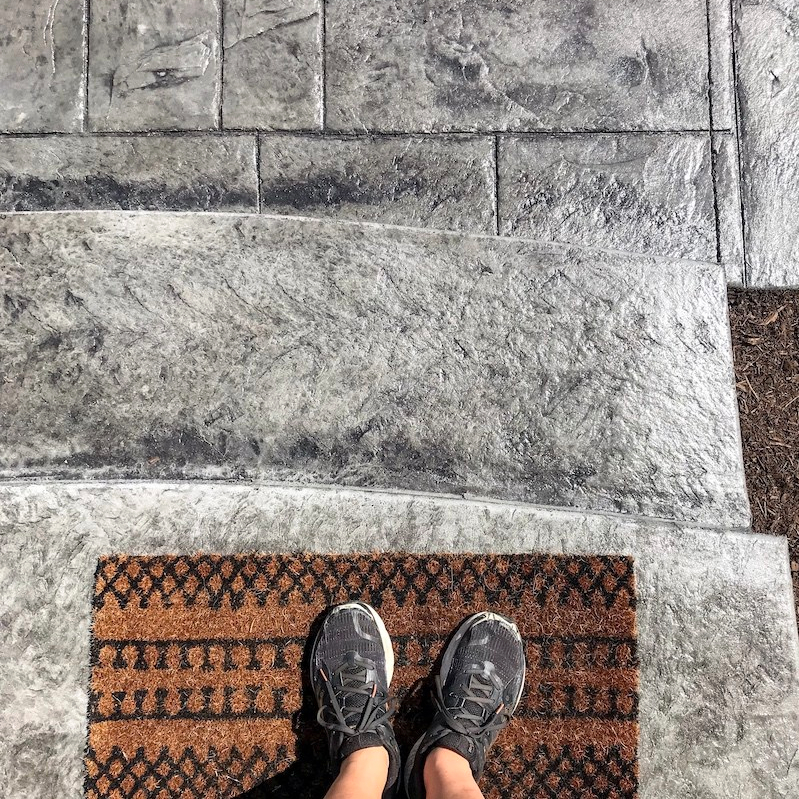
I’m SO excited to share that we’re coming to you live from our new stamped concrete patio! *queue the band and parade* This was a highly anticipated project finish because we knew we’d be spending tons of time outside [edit] and I can confidently say a year later that is very much the truth.
Let’s take a look at the details.

We weren’t planning to take on another large scale project this season given. We’d not only just moved, but got a fence, installed five ceiling fans, three kitchen lights and bought a riding mower. But the budgeting stars aligned for us, so here we are.
The timing and price were right, so we went for it. Our patio guy, Tony Farrell came highly recommended to us by not one, not two but three unrelated sources. With that kind of reputation we had to entertain the idea of getting this project done before season’s end. Plus, with this addition we’ve moved our grill and smoker out of the garage and will use them year round. We definitely still grill in the chill.
Picking Stamped Concrete Patio Colors & Design
We knew nothing about stamped concrete aside from it being concrete stamped to look like pavers. Pavers allow in weeds between them (read: extra work) and are super expensive, and regular concrete slabs just don’t have the character we want.
Choosing Our Stamped Concrete Patio Pattern
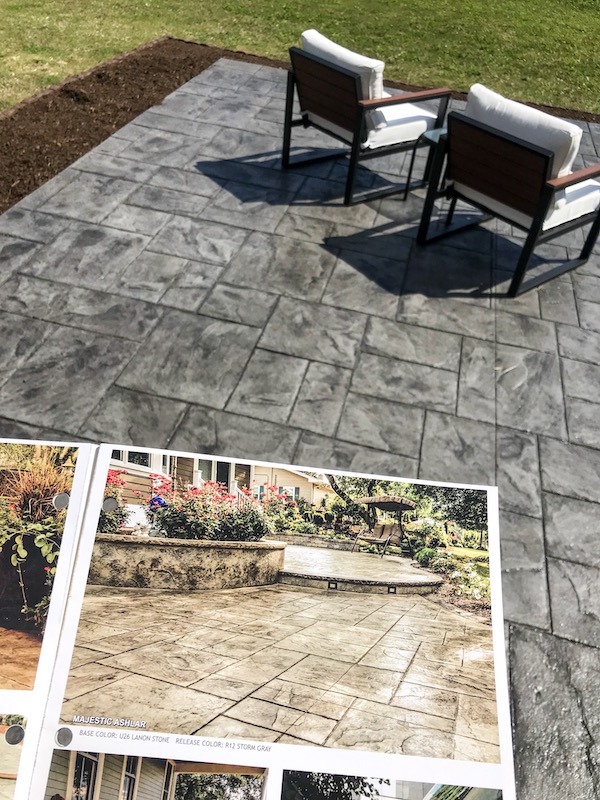
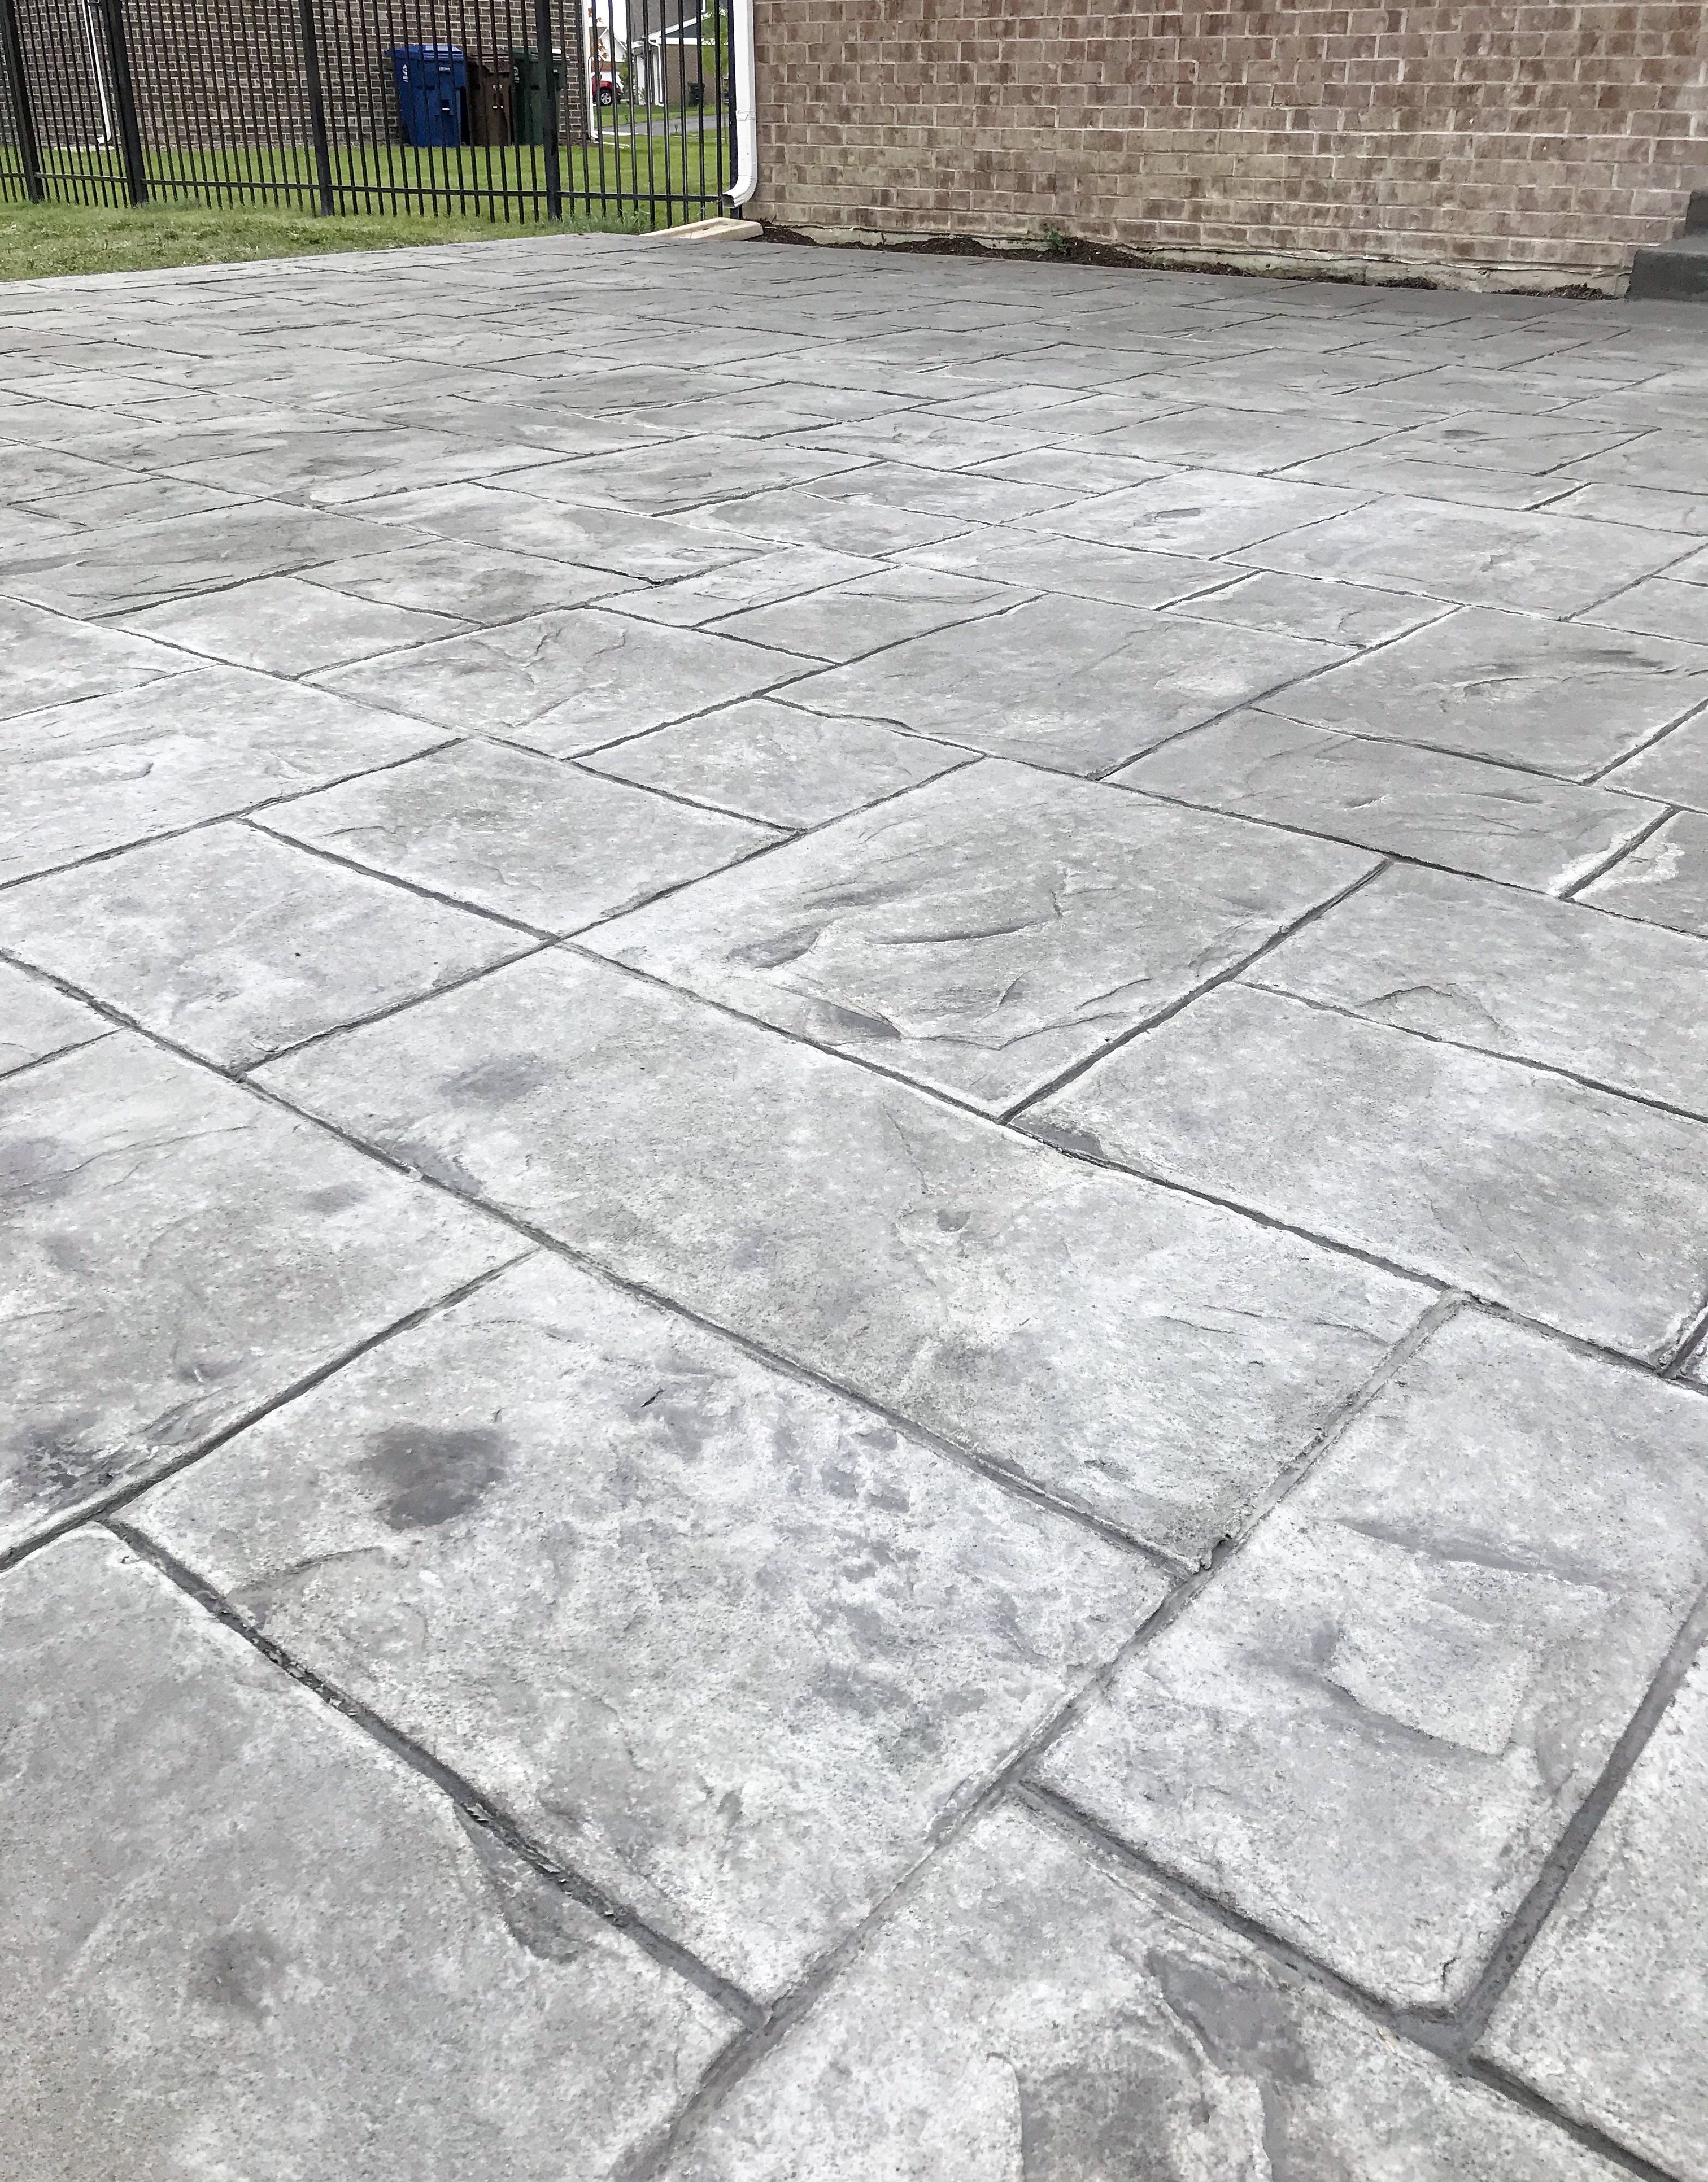
Thankfully, Tony brought us booklets with information and pictures of our options. We decided on a 20 ft x 20 ft square design, offset to the right when you walk out the back door. After some deliberation we decided on the Majestic Ashlar stamp. It’s a big patio so it needed a large print, and we didn’t want anything circular or rounded.
Picking the Concrete and Release Spray Colors
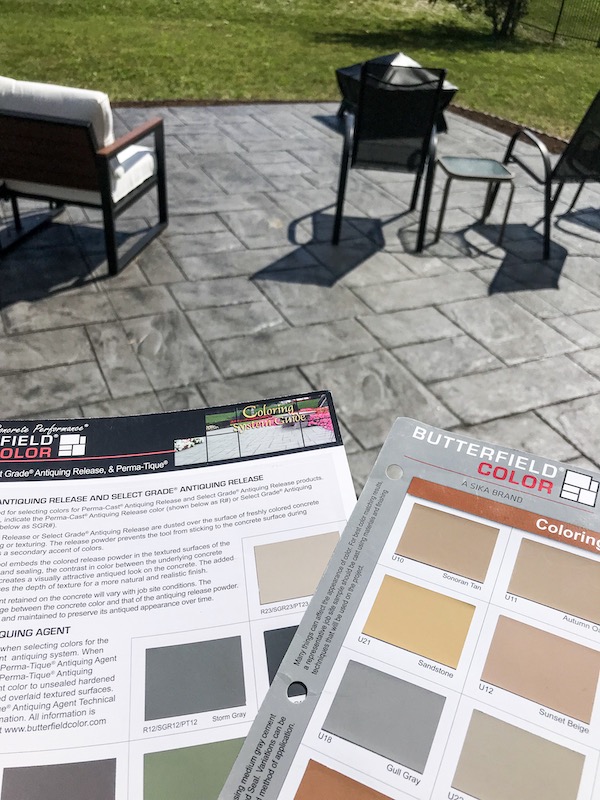
Colors took us longer to finalize because you need to pick a concrete color and a release color. We went back and forth quite a bit on this choice. The concrete color is the color of the mix and the release color is sprayed on top of the finished product to give the print an even more dimensional, textured look. We knew the final product would be gray, but there was a LOT of gray options. The winning combo turned out to be a softer Gull Gray concrete and a darker Storm Gray release color. The Storm Gray color complemented our siding especially well, and with a slab of concrete this big, a darker color would make a bigger statement. While I’m not sure if patios fade, we went darker so it didn’t lighten too much over time.
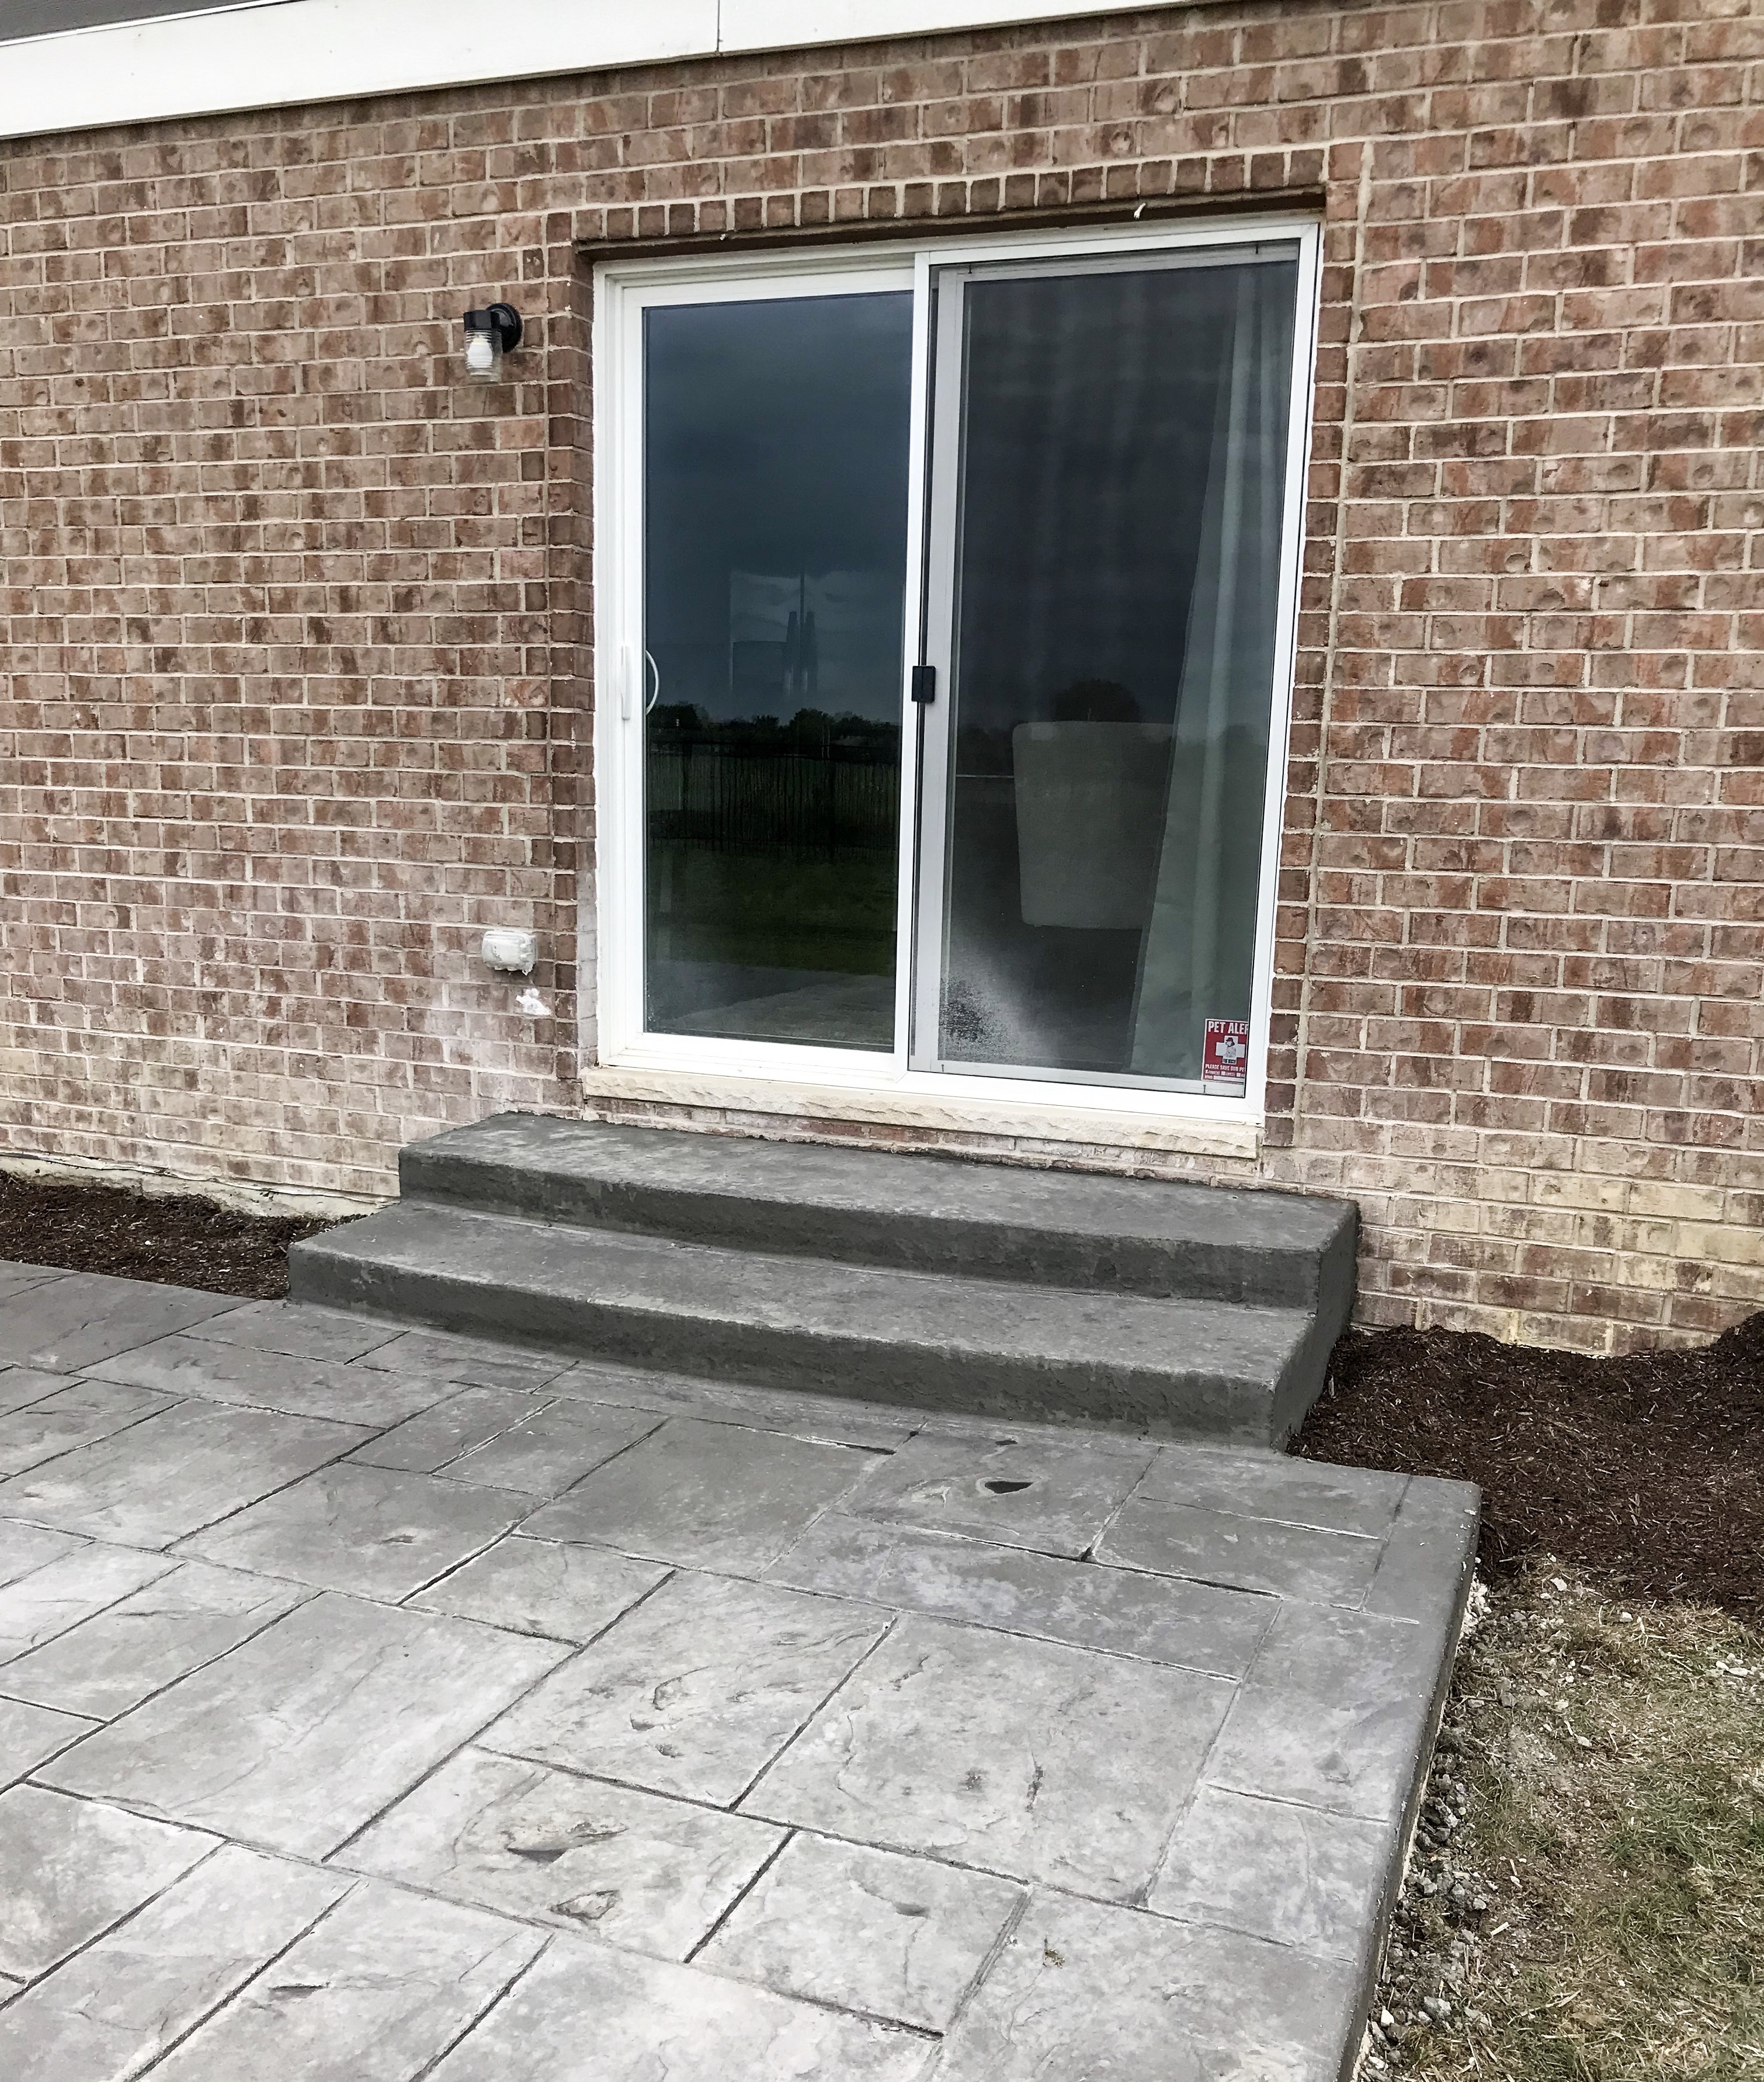
Before
Pretty basic, yea?
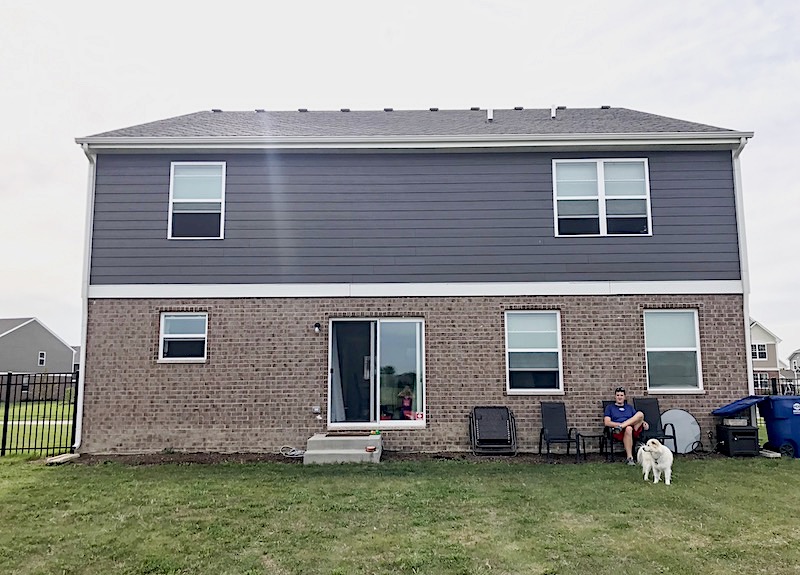
My biggest before pet peeve was the stoop. Why is it so small and unbalanced? Not to mention off centered. We didn’t like any of that.
Construction Day
The crew arrived at 6:45 a.m. on Saturday morning, an hour I didn’t previously know existed on a Saturday. Thankfully, all our neighbors are up even earlier because of their tiny humans.
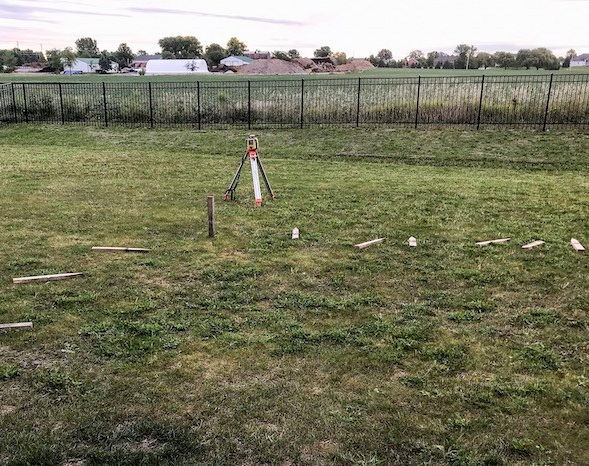
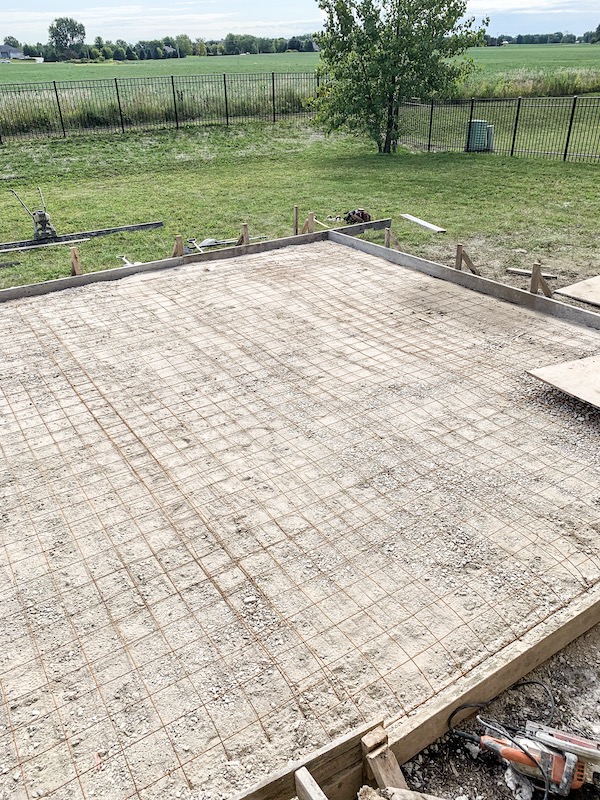
They started by surveying the area and marking the corners.
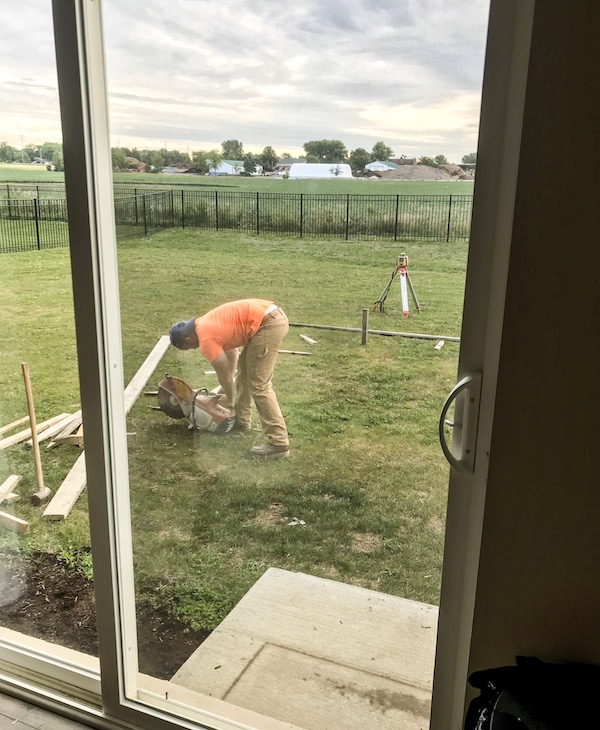
One of the early steps included jack-hammering out that unbalanced stoop. It was pretty loud, so poor Bickell hid upstairs while Kev and I tried not to stare out our patio door.
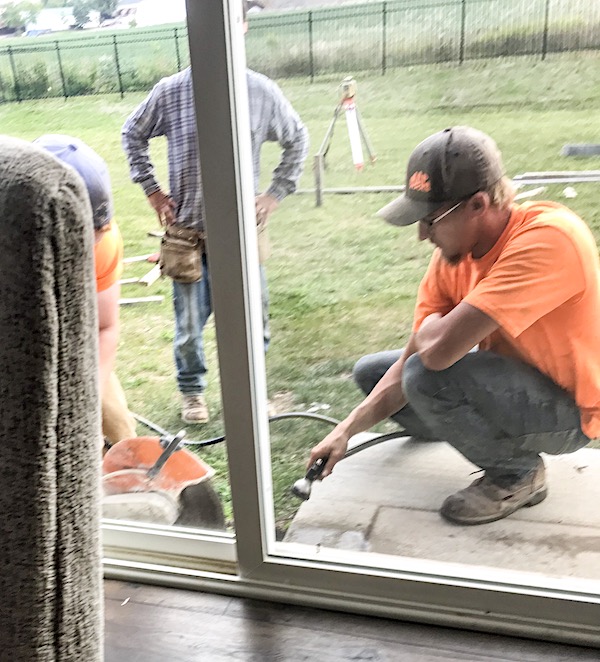
One guy used the hose to keep sparks from flying everywhere. Interesting stuff for homeowner nerds like us!
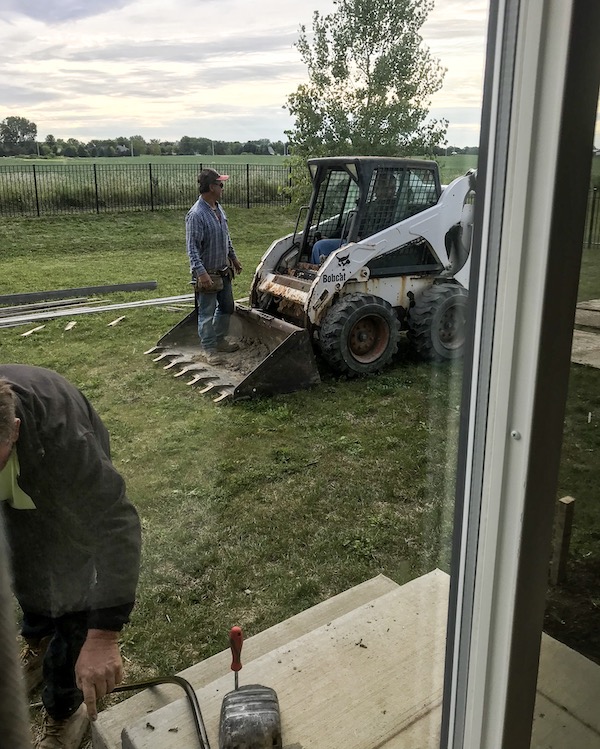
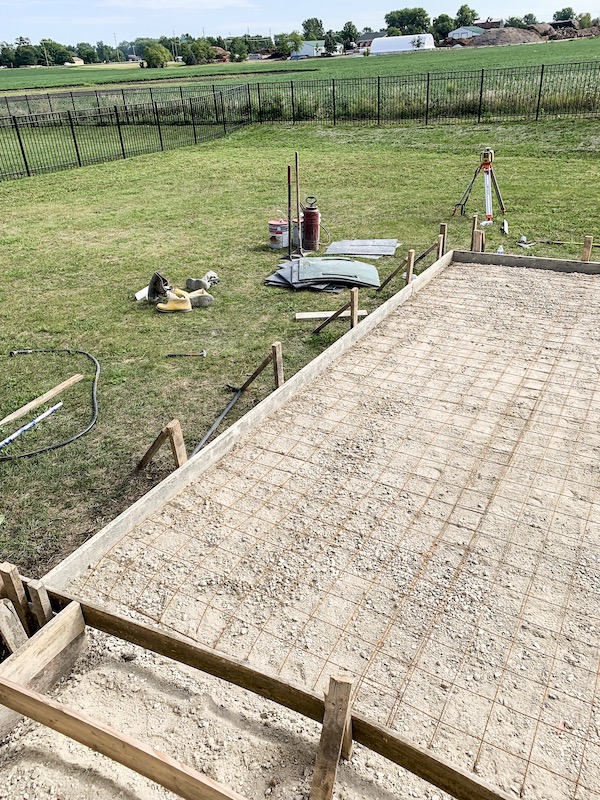
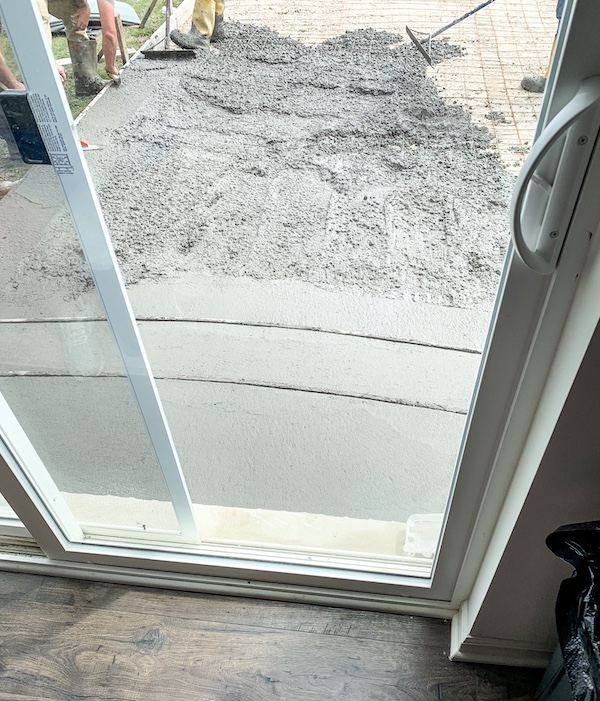
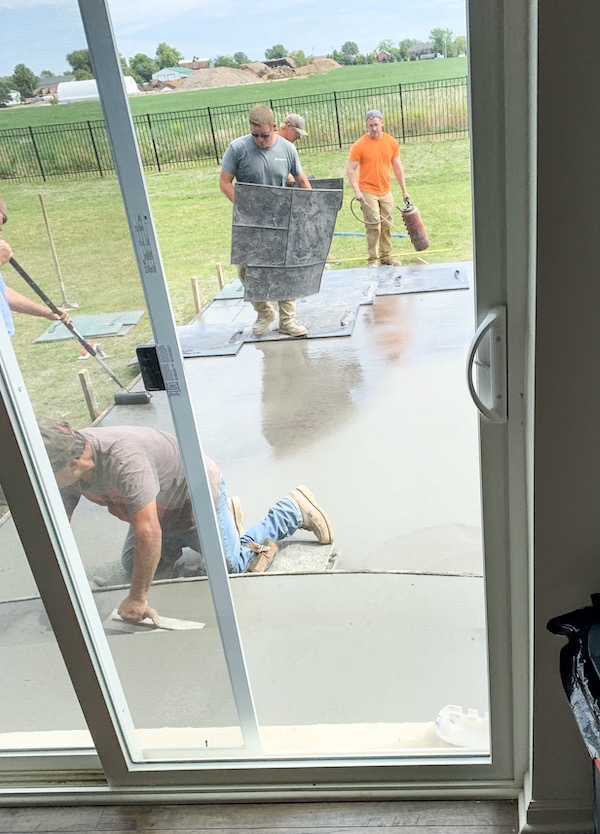
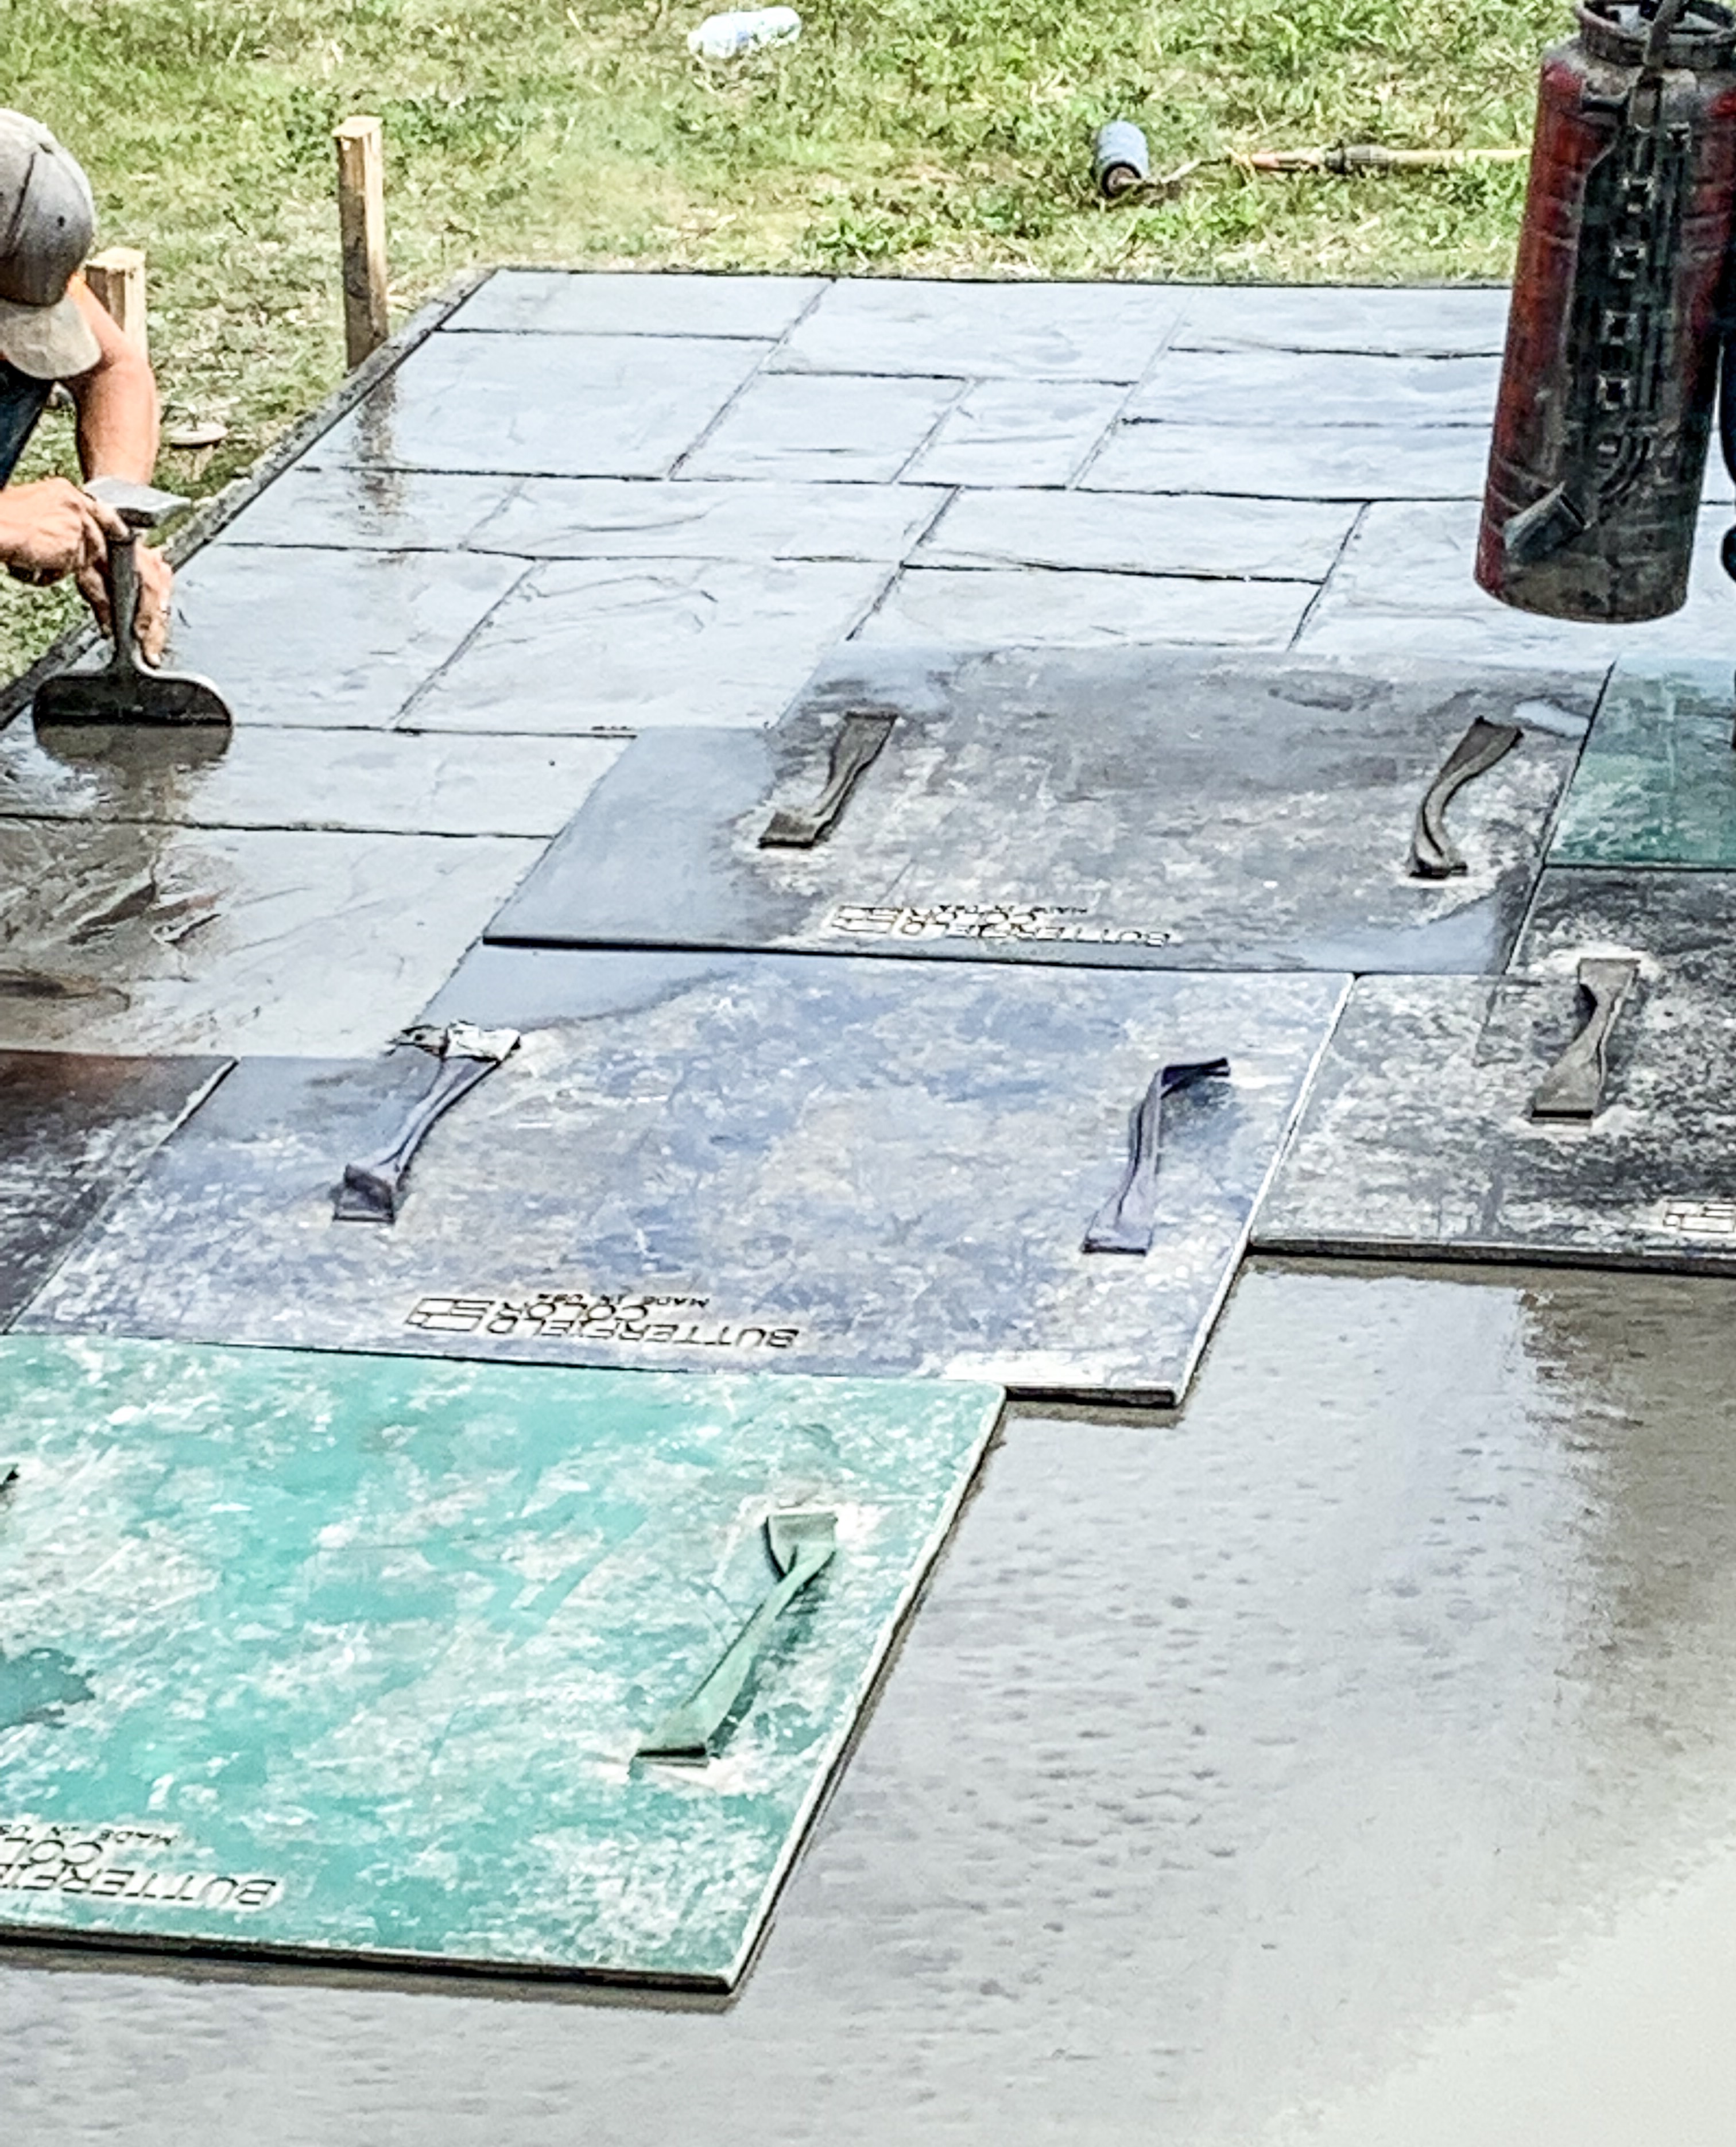
Framing and Pouring the Concrete
Watching each step was fascinating. This patio was enormous, and only got bigger after discussing plans for our steps (read on to hear those details) so it made this project very interesting to follow all day.

Making the Steps Work
The patio starts a few feet away from the house to leave room for mulch, pavers for the grill and smoker, decor, etc. But that brought up questions about how we’d make a gorgeous, wide focal stoop work. The patio is also offset to the right when you walk out, so this really was a one-off order in a few ways. As such, I was having serious trouble imaging what it’d look like, which is always nerve-wrecking for me.
Slight Change of Plans
I described my step concerns to Tony and he didn’t even break a sweat. He said he knew exactly how to make a focal piece that worked with mulch on two sides, covers the full length of the sliding door, and has a patio on just one side. The only issue was, we’d want to move the patio over so it gave a small buffer between the steps and the patio edge. This means the patio wouldn’t quite reach the edge of the house on the far side. We could do that and live with it being uneven or extend the patio to a 20 ft x 23 ft size which of course, means an added cost.
While no one loves spending more money on a project Tony said he’d only charge for the extra concrete. He really believed adding the extra three feet was the right call so we trusted the professionals. It’s all you can do sometimes. Let me tell you, it was the right call.
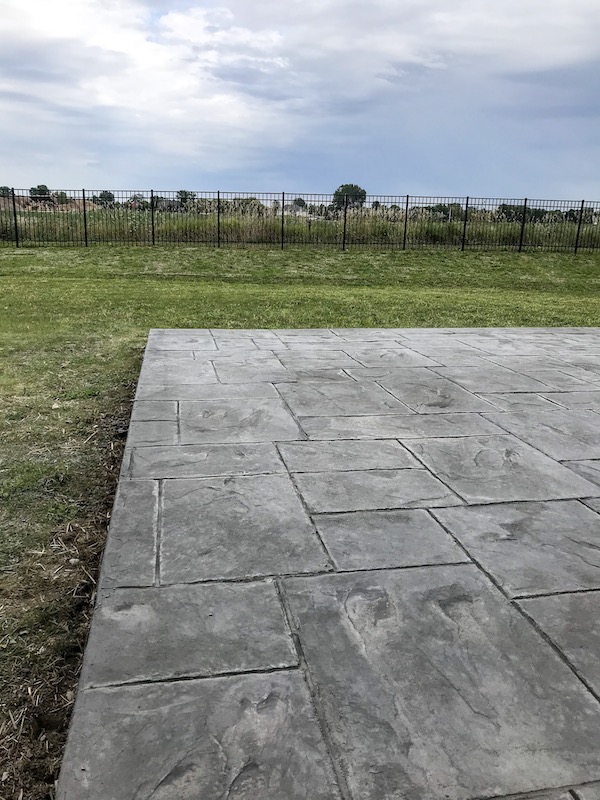
After: Our New Stamped Concrete Patio
The photos don’t do it justice! These were taken super quick after finishing so we hadn’t cleaned up at all, either. The next photo shows you where the extra concrete past the stairs paid off. You wouldn’t want your patio ending at the doorway and shoving the beautiful, focal point staircase into a corner.
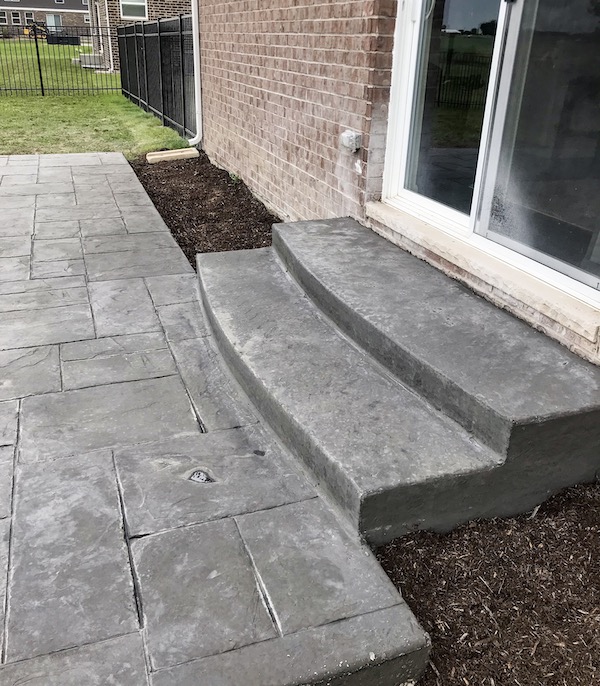
Tony provided a solid recommendation, and Kevin and I are thrilled we put in the relatively small extra money to make it truly perfect. We’re big on doing things right the first time to avoid regrets or spending more to fix it later.
We really mapped things in advance so not much went array, nor was there extra spending aside from the extension past the door. This is why I’ll always recommend budgeting a little more than you expect. It makes these small, unexpected but necessary add ons less stressful.
We also highly recommend Tony Farrell for your patio/paving needs if you’re in the Chicagoland area. Email me for his info or shoot me a DM on Instagram. He doesn’t really have a web presence but he is very responsive via phone and text.
What’s next?
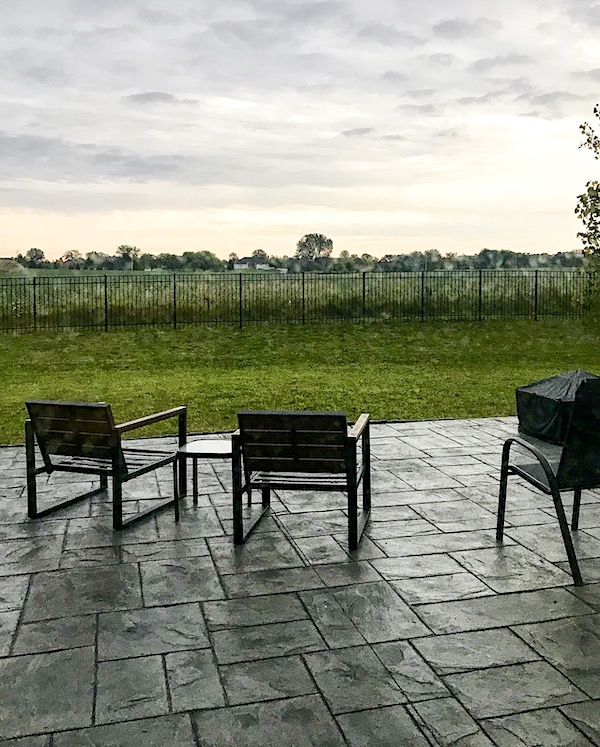
Since the install on August 31 we’ve purchased a few patio lounge chairs (on suuuper clearance), edged the entire perimeter of the patio with a mulch bed and lining for planting, and moved our outdoor furniture and equipment to it’s permanent backyard home. All on the DIY plan. I can hardly wait to show you the progress we made in just one quick week!
More Backyard Projects and Updates

This post contains referral/affiliate links. A small commission may be earned if products are purchased through my links. Thank you for supporting the brands that support this blog.
