

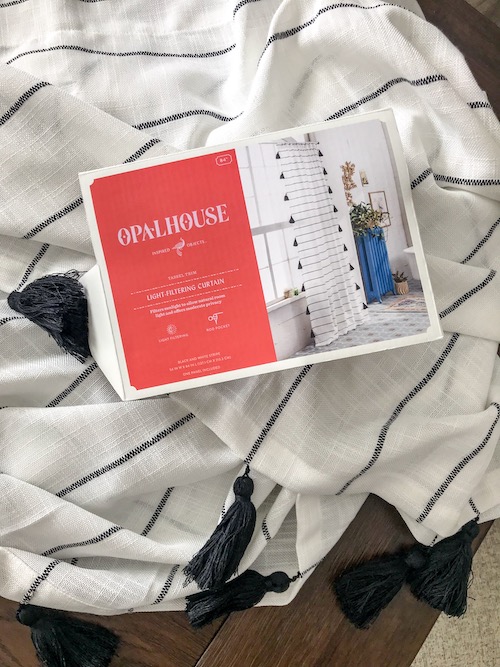
I finally found boho kitchen curtains I love but they’re TWICE as long as my window. They’re for over my sink, so there really isn’t wiggle room on the length. However, longer is always better. My new Opalhouse curtains are from Target in the 63″ length.
Finding curtains for my kitchen window was getting really frustrating. I finally realized I could simply cut and sew these bad boys with little to no problem and have exactly what I wanted! Realistically, given the strict requirements for this space, this probably would have been the solution no matter what curtain I choose.
The beautiful part of this purchase was that I only needed one panel, which is how they’re sold, so for only $23 I had enough fabric to treat my entire kitchen sink window (and then some).
Measure Your Curtains Twice, Cut Once
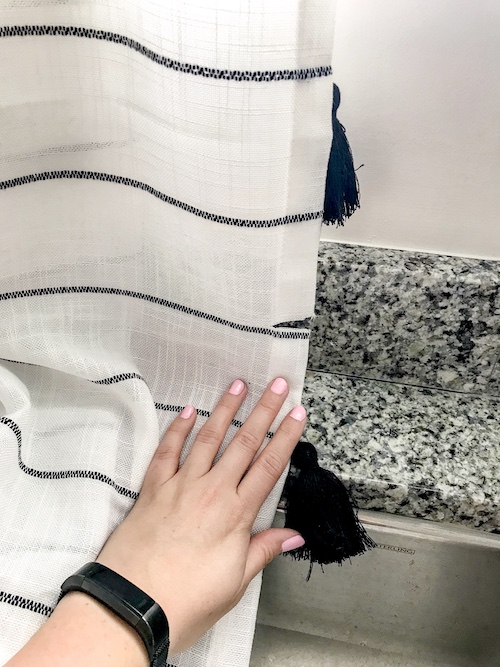
It’s the phrase heard ’round the sewing (and construction) world for a reason. Be totally sure you found the spot you want to cut, having accounted for an extra 1.5″ to be ironed and folded as your new hem. I hung the curtains on my curtain rod first to give me a very real idea of how the curtains will lay when hung. From there I measured twice and marked my cut line.
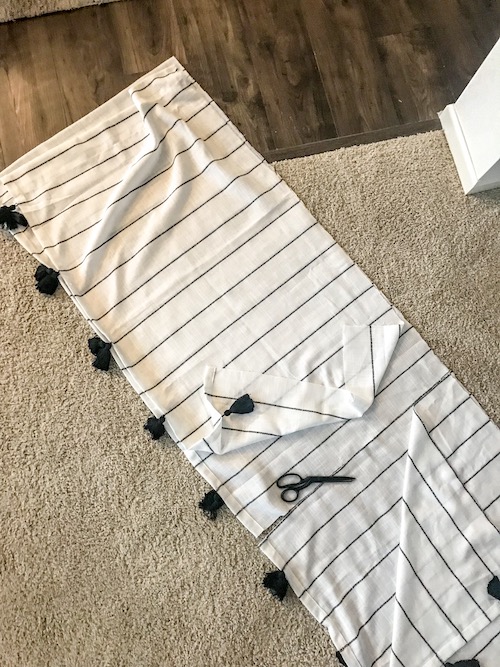
Once I had my mark I laid them flat to cut. Conveniently, these curtains have horizontal lines which made following one for my cut SUPER easy.
Given the size of the curtain, I trimmed not only the length, but cut the curtain in half vertically to make two panels. My window is about 46″ wide and the single panel was 54″ wide. Given my curtains will be open almost all the time anyway, this was plenty of extra width to spare 3″ for a new hem, 1.5″ on each panel.
Sewing Your Boho Kitchen Curtains
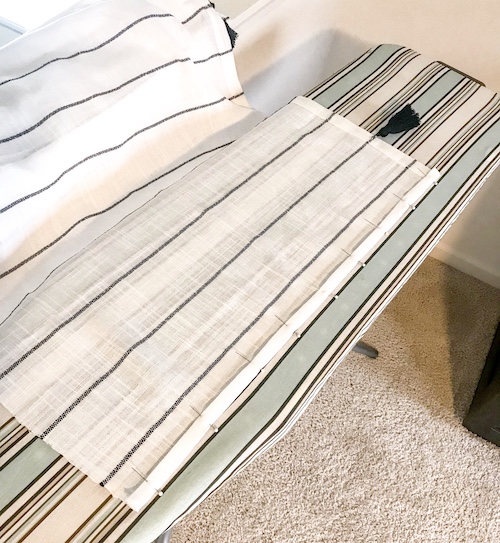
The most tedious part is pinning and ironing, but it’s a very important step. Pinning allows you unlimited chances to get the new hem straight. Once it’s pinned where you want, ironing the fabric down will keep your stitch more accurate while sewing.
1. Fold the end over once about 3/4″, pin it every few inches, then iron.
2. Remove the pins.
3. Fold the ironed edge over another 3/4″ (you’ve now folded a total of 1.5″ and no raw edges are showing). Pin as needed and iron again.
4. From there you’ll take the hem to your machine to sew the permanent hem line.
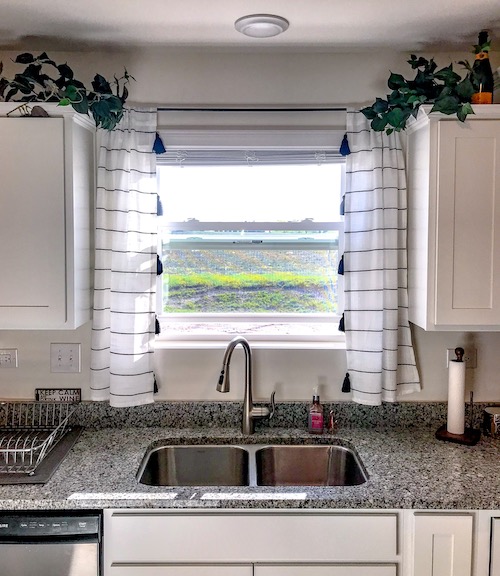
I ended up with only one side of tassels on either panel because of the cut, but that was intentional. More tassels against my wall would be too bulky and busy, pushing the curtain away from the cabinets. The tassel-less edge along my cabinets was the perfect fit.
Curtain Rod Details
This cafe rod came in a 2-pack for only $9.99. I was seeking something very thin and inconspicuous to keep the curtains the focal point. We even hung the brackets intentionally out of sight. To do so, I made sure the rod was at least 50% longer than needed so the hanging kit could hide behind my cabinet decor.

Interested in more DIY sewing projects?
Try my DIY Duvet Cover or my Simple Sew Pillow Shams next to customize your bedding!

This post contains referral/affiliate links. A small commission may be earned if products are purchased through my links. Thank you for supporting the brands that support this blog.


